The Ultimate MIDI Controller is designed to function as both a MIDI keyboard and an effects controller. Whether you're a music producer or live performer, this controller provides seamless control over MIDI devices and software.
🎬 Watch the build process on YouTube: Ultimate MIDI Controller Build
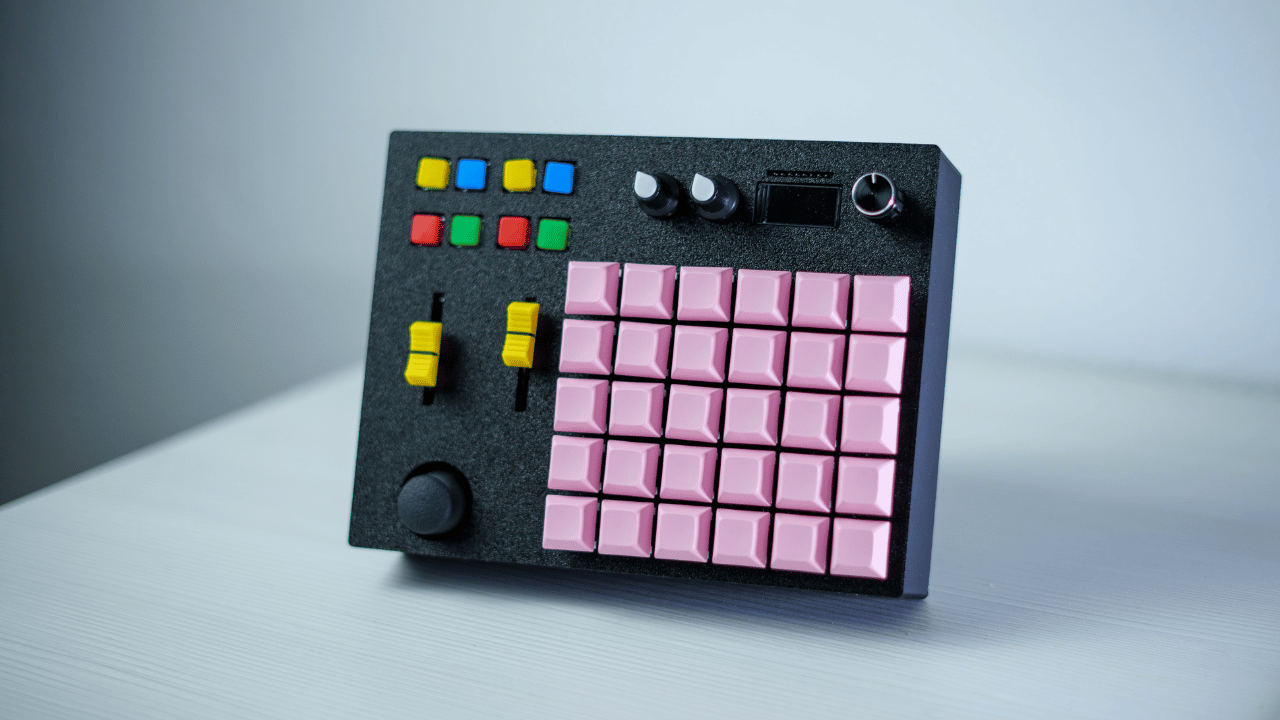
- 8 Programmable Pushbuttons: Fully customizable to control your MIDI software or devices.
- 2 Sliding Potentiometers (10K): Smooth control for faders or other continuous parameters.
- 2 Rotary Potentiometers (10K): Perfect for volume, effects, or other rotary controls.
- 1 Rotary Encoder with Button: Precision control for effects, menus, or settings.
- 1 Joystick: Adds dynamic control, ideal for pitch bending, modulation, or any custom input.
- 30 Mechanical Key Switches: Custom tactile and clicky switches with keycaps, offering a responsive feel.
- Tiny Neodymium Magnets: Secure and modular connections for various components.
- Display (SPI Protocol): Provides real-time feedback on settings, effects, or controls.
- Custom 3D Printed Enclosure: Designed from scratch, this custom top and bottom enclosure houses all components securely.
- Powered by Arduino Pro Micro: The heart of the controller, driving all the components with powerful control.
- Potentiometers: 10K ohm (linear)
- Switches: Clicky mechanical switches with keycaps
- Display: SPI-connected display
- 3D Printed Enclosure: Custom-designed for a sleek, modular build
For a full list of components and assembly details, visit: Ultimate MIDI Controller on RistoInnovates.com
- Enclosure STL Files: Download the 3D-printable files for the top and bottom enclosure.
- Schematics & Code: Download the wiring schematics and Arduino code.
Note: The code is actively being developed. If you find any missing features or bugs, check back later for updates.
- Print the enclosure using the provided STL files.
- Assemble the components as per the schematics.
- Upload the provided Arduino code to your Pro Micro.
- Enjoy your new customizable MIDI controller!
Feel free to submit pull requests or open issues if you have any ideas or improvements!