
![]()
![]()
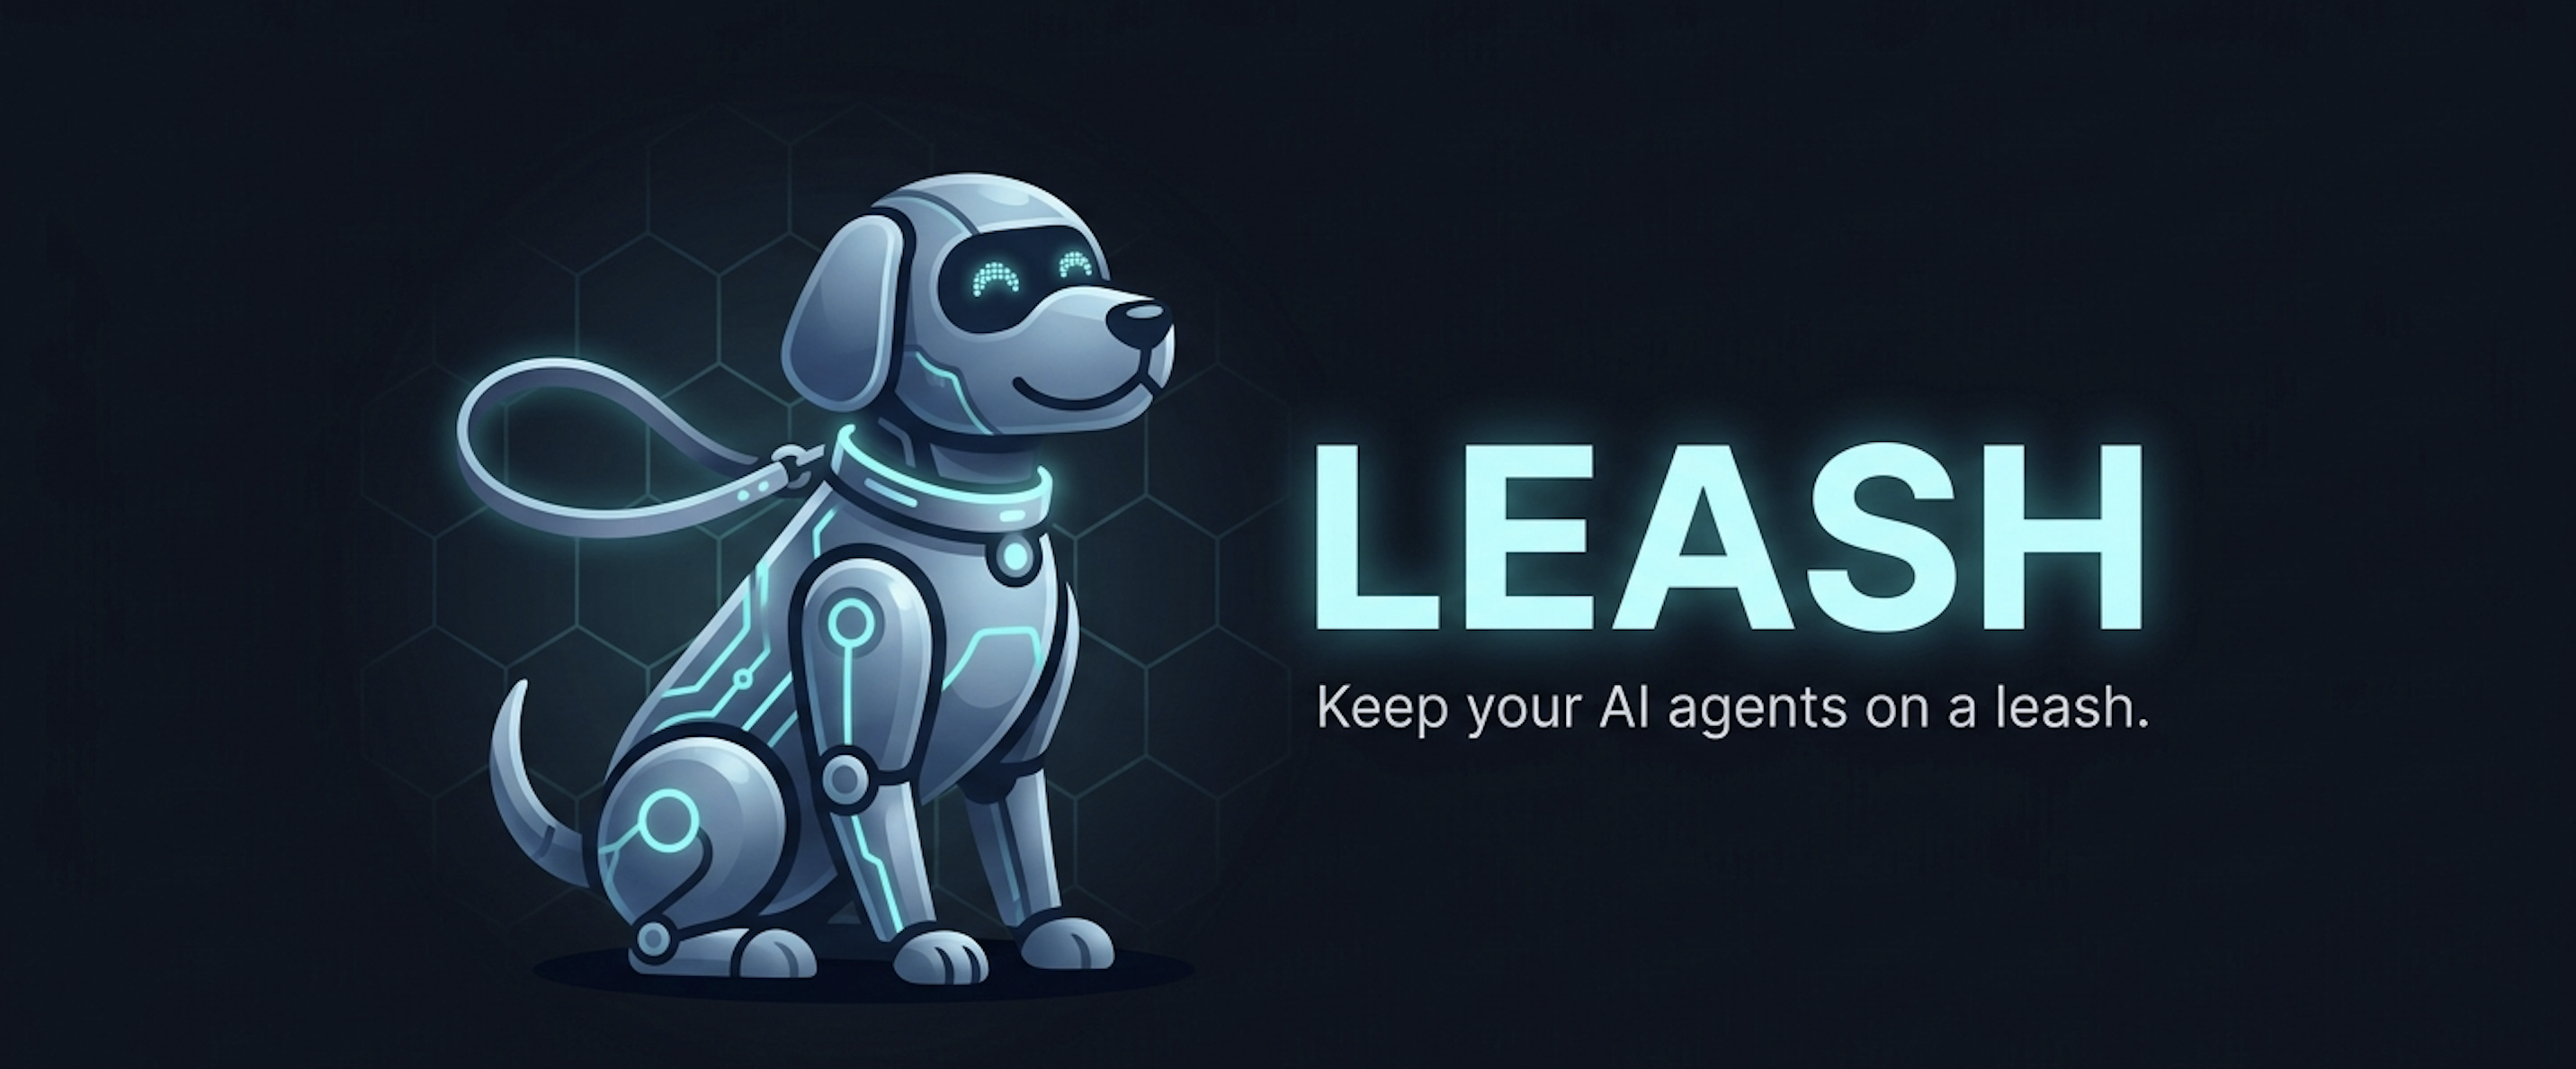
Keep your AI agents on a leash.
You wouldn't let a dog roam the neighborhood unsupervised, so why let an AI agent read your files, send emails, and call APIs without guardrails? Leash is an API-layer policy engine that sits between your agent and the outside world — no containers, no sidecars, just authorization. You write simple YAML rules that say what's allowed. Everything else is denied. Every decision from allow or deny activities is logged in a cryptographically signed, hash-chained audit trail that's tamper-evident by design.
One pip install, one policy file, and your agent is on a leash.
- 🐕 Deny by default — nothing happens unless your policy says so
- 📜 YAML rules — human-readable, version-controllable, git-diffable
- 🔗 Tamper-evident audit trail — hash-chained and signed; deletions are detectable
- 👀 Observe mode — shadow new rules in production before enforcing
- 🔍 Security scanner — discover an MCP server's tools, classify risk, generate policies
- 🧩 Framework-agnostic — Python SDK, MCP proxy, or plain REST
- 🧠 OpenClaw ready — built-in policies for the popular open-source AI assistant
- 🛡️ OWASP mapped — rules and audit checks reference OWASP ASI and LLM Top 10 threat IDs
- ⚡ One dependency —
pip install leash. No Go, no Rust, no sidecar containers - 📖 Full documentation — getting started, policy writing guide, SDK reference, CLI reference, architecture
pip install leashOr run from source:
git clone https://github.com/chadeckles/leash.git && cd leash
make quickstart    # installs deps, starts server, runs a demo
Requires Python 3.11+ (macOS ships with 3.9 — run brew install python@3.12 first if needed).
💡 Running from source? Use
pip install -e .to make theleashcommand available globally, or use./leashdirectly from the repo root. See the getting started guide for details.
After installing, start the server:
leash start              # start on port 8000
leash start --reload     # auto-reload for development
leash start --port 9000  # custom port
Or from source: make dev
For developers building agents in Python (LangChain, CrewAI, or custom code). Add a few lines to your existing agent code — no separate config file needed — and every tool call is authorized and audited.
Wrap individual functions with a decorator:
from sdk import LeashAgent

agent = LeashAgent("http://localhost:8000", name="my-agent")

@agent.tool("email.read")
def read_inbox(mailbox: str):
    return gmail.read(mailbox)

with agent:
    read_inbox("user@example.com")   # Leash checks permission first
The name is how policies find your agent — a policy with agents: ["*email*"] matches any agent with "email" in its name.
Or wrap many tools at once with guard() — no need to decorate every function individually:
# Wrap a list of existing callables in one line:
guarded = agent.guard([read_inbox, send_email, summarize, search])

# Works with LangChain tools too:
guarded = agent.guard(langchain_tools)
If the action is denied, the function doesn't run. If Leash is unreachable, it denies by default (fail-closed).
💡 Deny by default. These examples will be denied until you write a policy that allows the action. That's the point — nothing runs unless your rules say so.
MCP (Model Context Protocol) is how AI tools like Claude Desktop and Cursor connect to external tool servers — but MCP has no built-in authorization. This proxy sits between the AI and the MCP server so every tool call is checked against your policies, with zero code changes to the server:
python -m sdk.mcp_proxy \
    --agent-name "fs-agent" \
    -- npx -y @modelcontextprotocol/server-filesystem /data
Every tools/call is authorized, logged, and checked for tool poisoning automatically. The proxy auto-discovers the server's tools on startup.
See the MCP Proxy Guide for Claude Desktop config, Cursor setup, and policy examples.
OpenClaw is a popular open-source personal AI assistant. It can run shell commands, browse the web, and manage files — all of which Leash can govern. Leash ships with a built-in OpenClaw policy:
# Register your OpenClaw agent
leash agents register --name "openclaw-agent" --vendor openclaw

# The built-in policy allows reads and web search, denies exec and browser.
# Customize app/policies/openclaw.yaml to match your needs.
See the full OpenClaw Integration Guide for setup, example policies, and tool mappings.
Any language — register once, check permission before each action:
# Register an agent (returns agent_id + JWT token)
curl -s -X POST http://localhost:8000/agents \
  -H "Content-Type: application/json" \
  -d '{"name": "my-agent"}'

# Authorize an action (use the token and agent_id from above)
curl -s -X POST http://localhost:8000/authorize \
  -H "Authorization: Bearer $TOKEN" \
  -H "Content-Type: application/json" \
  -d '{"agent_id": "'$AGENT_ID'", "action": "email.read"}'
Full interactive API docs at http://localhost:8000/docs once the server is running.
Rules live in app/policies/*.yaml. The server picks up changes automatically — no restart needed.
name: email-agent
priority: 10
agents: ["*email*"]
rules:
  - action: "email.read"
    effect: allow
    reason: "Agent may read emails"

  - action: "email.*"
    effect: deny
    reason: "Everything else is blocked"
How evaluation works:
priority— higher number = evaluated first. The built-indefault.yamlis priority 0 (catch-all deny). Your policies should be 10+ to take precedence.agents— wildcard patterns matched against the agent's name."*email*"matches any agent with "email" in its name.- Rules — evaluated top-to-bottom within a policy. First match wins. No match anywhere = denied.
Don't guess at rules — observe first. Deploy new policies in mode: observe to see what would be denied without actually blocking anything. Once you're confident, flip to mode: enforce. See Write Your First Policy for the full scan-first workflow.
Rules also support rate limiting, ABAC conditions, and OWASP threat tags — see the policy writing guide.
leash status                              # server health
leash agents list                         # registered agents
leash agents register --name "my-bot"     # register a new agent
leash policy validate app/policies/       # lint your YAML rules
leash audit scan                          # security scan (integrity, storms, shadows)
leash scan -- npx -y @mcp/server-fs /data # scan an MCP server's tools
leash dashboard                           # live terminal TUI
leash doctor # health-check your deploymentmake docker-up # build + start on port 8000
make docker-down # stop + remove volumesImages are published to GHCR, multi-arch (amd64 + arm64), and signed with cosign.
app/
  policies/       ← your rules (edit these)
  policy/         ← policy engine
  audit/          ← hash-chained audit log
  identity/       ← agent registration & JWT
  core/           ← config, auth, crypto, DB
sdk/
  client.py       ← Python SDK (LeashAgent)
  cli.py          ← CLI
  mcp_proxy.py    ← MCP authorization proxy
  scanner.py      ← security surface scanner
  dashboard.py    ← terminal TUI
tests/            ← test suite
Built by Chad Eckles.
Found a bug? Have an idea? Open an issue or check out the contributing guide.
Apache 2.0 — see LICENSE.