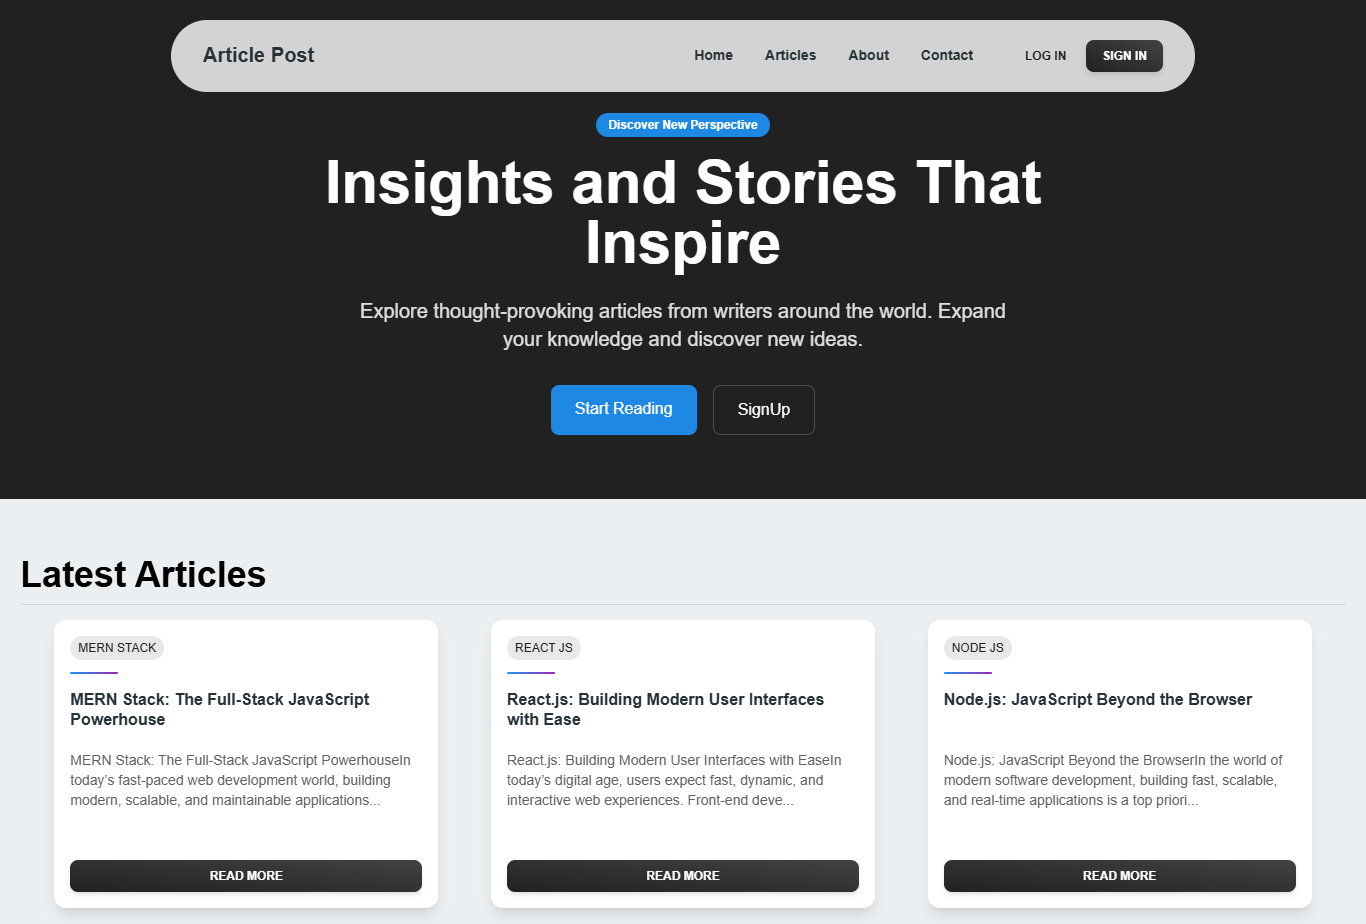
Article Post is a full-stack blogging platform built with the MERN stack (MongoDB, Express.js, React, Node.js). It allows users to create, edit, and delete articles, while admins have additional privileges to manage all articles and categories. The application features secure authentication, a rich text editor, and a responsive user interface for both user and admin dashboards.
- User Role:
- Create, edit, and delete personal articles.
- Browse and view articles from all users.
- Admin Role:
- Create, edit, and delete personal articles.
- Delete any inappropriate articles.
- Create and delete categories for organizing articles.
- Dashboards:
- User dashboard for managing personal content.
- Admin dashboard for managing all articles and categories.
- Security:
- Access and refresh tokens stored in cookies for secure authentication.
- Password hashing using bcryptjs with Mongoose middleware.
- CORS configured for secure API communication.
- Rich Text Editing: Lexical Editor for creating and editing articles.
- Responsive Design: Built with Material Tailwind for a seamless experience across devices.
- Frontend:
- React
- Material Tailwind (UI components)
- Lexical Editor (rich text editing)
- Redux (state management)
- React Router (navigation)
- Axios (API requests with token refresh interceptors)
- Toastify (notifications)
- Lucide-react and Heroicons (icons)
- Backend:
- Node.js
- Express.js
- MongoDB with Mongoose ODM
- bcryptjs (password hashing)
- JSON Web Tokens (JWT) for authentication
- Deployment:
- Frontend: Netlify
- Backend: Vercel
Follow these steps to set up the project locally:
- Node.js (v16 or higher)
- MongoDB (local or MongoDB Atlas)
- Git
-
Clone the Repository:
git clone https://github.com/0xHuzaifa/Article-Post-MERN.git cd Article-Post-MERN -
Install Dependencies:
- For the backend:
cd server npm install - For the frontend:
cd client
npm install
- For the backend:
-
Set Up Environment Variables:
- Create a
.envfile in theserver/directory with the following:MONGO_URI=<your-mongodb-connection-string> JWT_SECRET=<your-jwt-secret-key> JWT_REFRESH_SECRET=<your-refresh-token-secret> PORT=5000 CLIENT_URL=https://article-post.netlify.app
- Create a
.envfile in theclient/directory:VITE_API_URL=https://article-post-backend.vercel.app/api
- Create a
-
Run the Application:
- Start the backend:
cd server npm start - Start the frontend:
cd client npm run dev - The app should be running at
http://localhost:5173(frontend) andhttp://localhost:5000(backend).
- Start the backend:
- Access the App:
- Visit the live frontend at https://article-post.netlify.app.
- The backend API is hosted at https://article-post-backend.vercel.app.
- User Actions:
- Register or log in to access the user dashboard.
- Create articles using the Lexical Editor, edit or delete your own articles.
- Browse articles by category or search for specific content.
- Admin Actions:
- Log in with admin credentials to access the admin dashboard.
- Manage all articles (delete inappropriate ones) and create/delete categories.
- Notifications: Toastify provides feedback for actions like article creation or deletion.
Article-Post-MERN/
├── client/                 # React frontend
│   ├── src/
│   │   ├── components/     # Reusable components (e.g., ArticleCard, Navbar)
│   │   ├── pages/          # Page components (e.g., Home, Dashboard, AdminPanel)
│   │   ├── redux/          # Redux store and slices
│   │   ├── App.jsx         # Main React app component
│   │   └── main.jsx        # Vite entry point
|
├── server/
|   ├── src/
│   │   ├── models/         # Mongoose schemas (e.g., User, Article, Category)
│   │   ├── routes/         # API routes (e.g., auth, articles, categories)
│   │   ├── controllers/    # Route handlers
│   │   ├── middleware/     # Custom middleware (e.g., auth, CORS)
│   │   ├── server.js       # Server entry point
|   |   └── app.js          # Express app middleware configurations
└── .gitignore              # Git ignore file
- Article search and filtering
- Article view count tracking
- WYSIWYG image uploads
- Email verification & password reset
- Dark mode
Contributions are welcome! To contribute:
- Fork the repository.
- Create a new branch (
git checkout -b feature/your-feature). - Make your changes and commit (
git commit -m "Add your feature"). - Push to your branch (
git push origin feature/your-feature). - Open a pull request with a detailed description of your changes.
Please adhere to the project's coding standards, using ESLint and Prettier for code formatting.
Built with ❤️ by Huzaifa Ahmed
Let me know if you’d like to include:
- API Documentation (`/api/v1/articles`, `/api/v1/auth`, etc.)
- Screenshots or a GIF walkthrough
- Contribution guidelines

Would you like me to add this file to your GitHub repo via a pull request, or will you upload it yourself?
For questions or feedback, reach out to 0xHuzaifa or open an issue on the repository.