- Provision 4 Red Hat Enterprise Linux 8. One will be the NFS server and the other as the Web servers.
- Provision 1 Ubuntu 20.04 for the the databaes server.
-
To view all logical volumes, run the command
lsblkThe 3 newly created block devices are names xvdf, xvdh, xvdg respectively. -
Use gdisk utility to create a single partition on each of the 3 disks
sudo gdisk /dev/xvdf -
A prompt pops up, type
nto create new partition, enter no of partition(1), hex code is 8300,pto view partition andwto save newly created partition. -
Repeat this process for the other remaining block devices.
-
Type lsblk to view newly created partition.
-
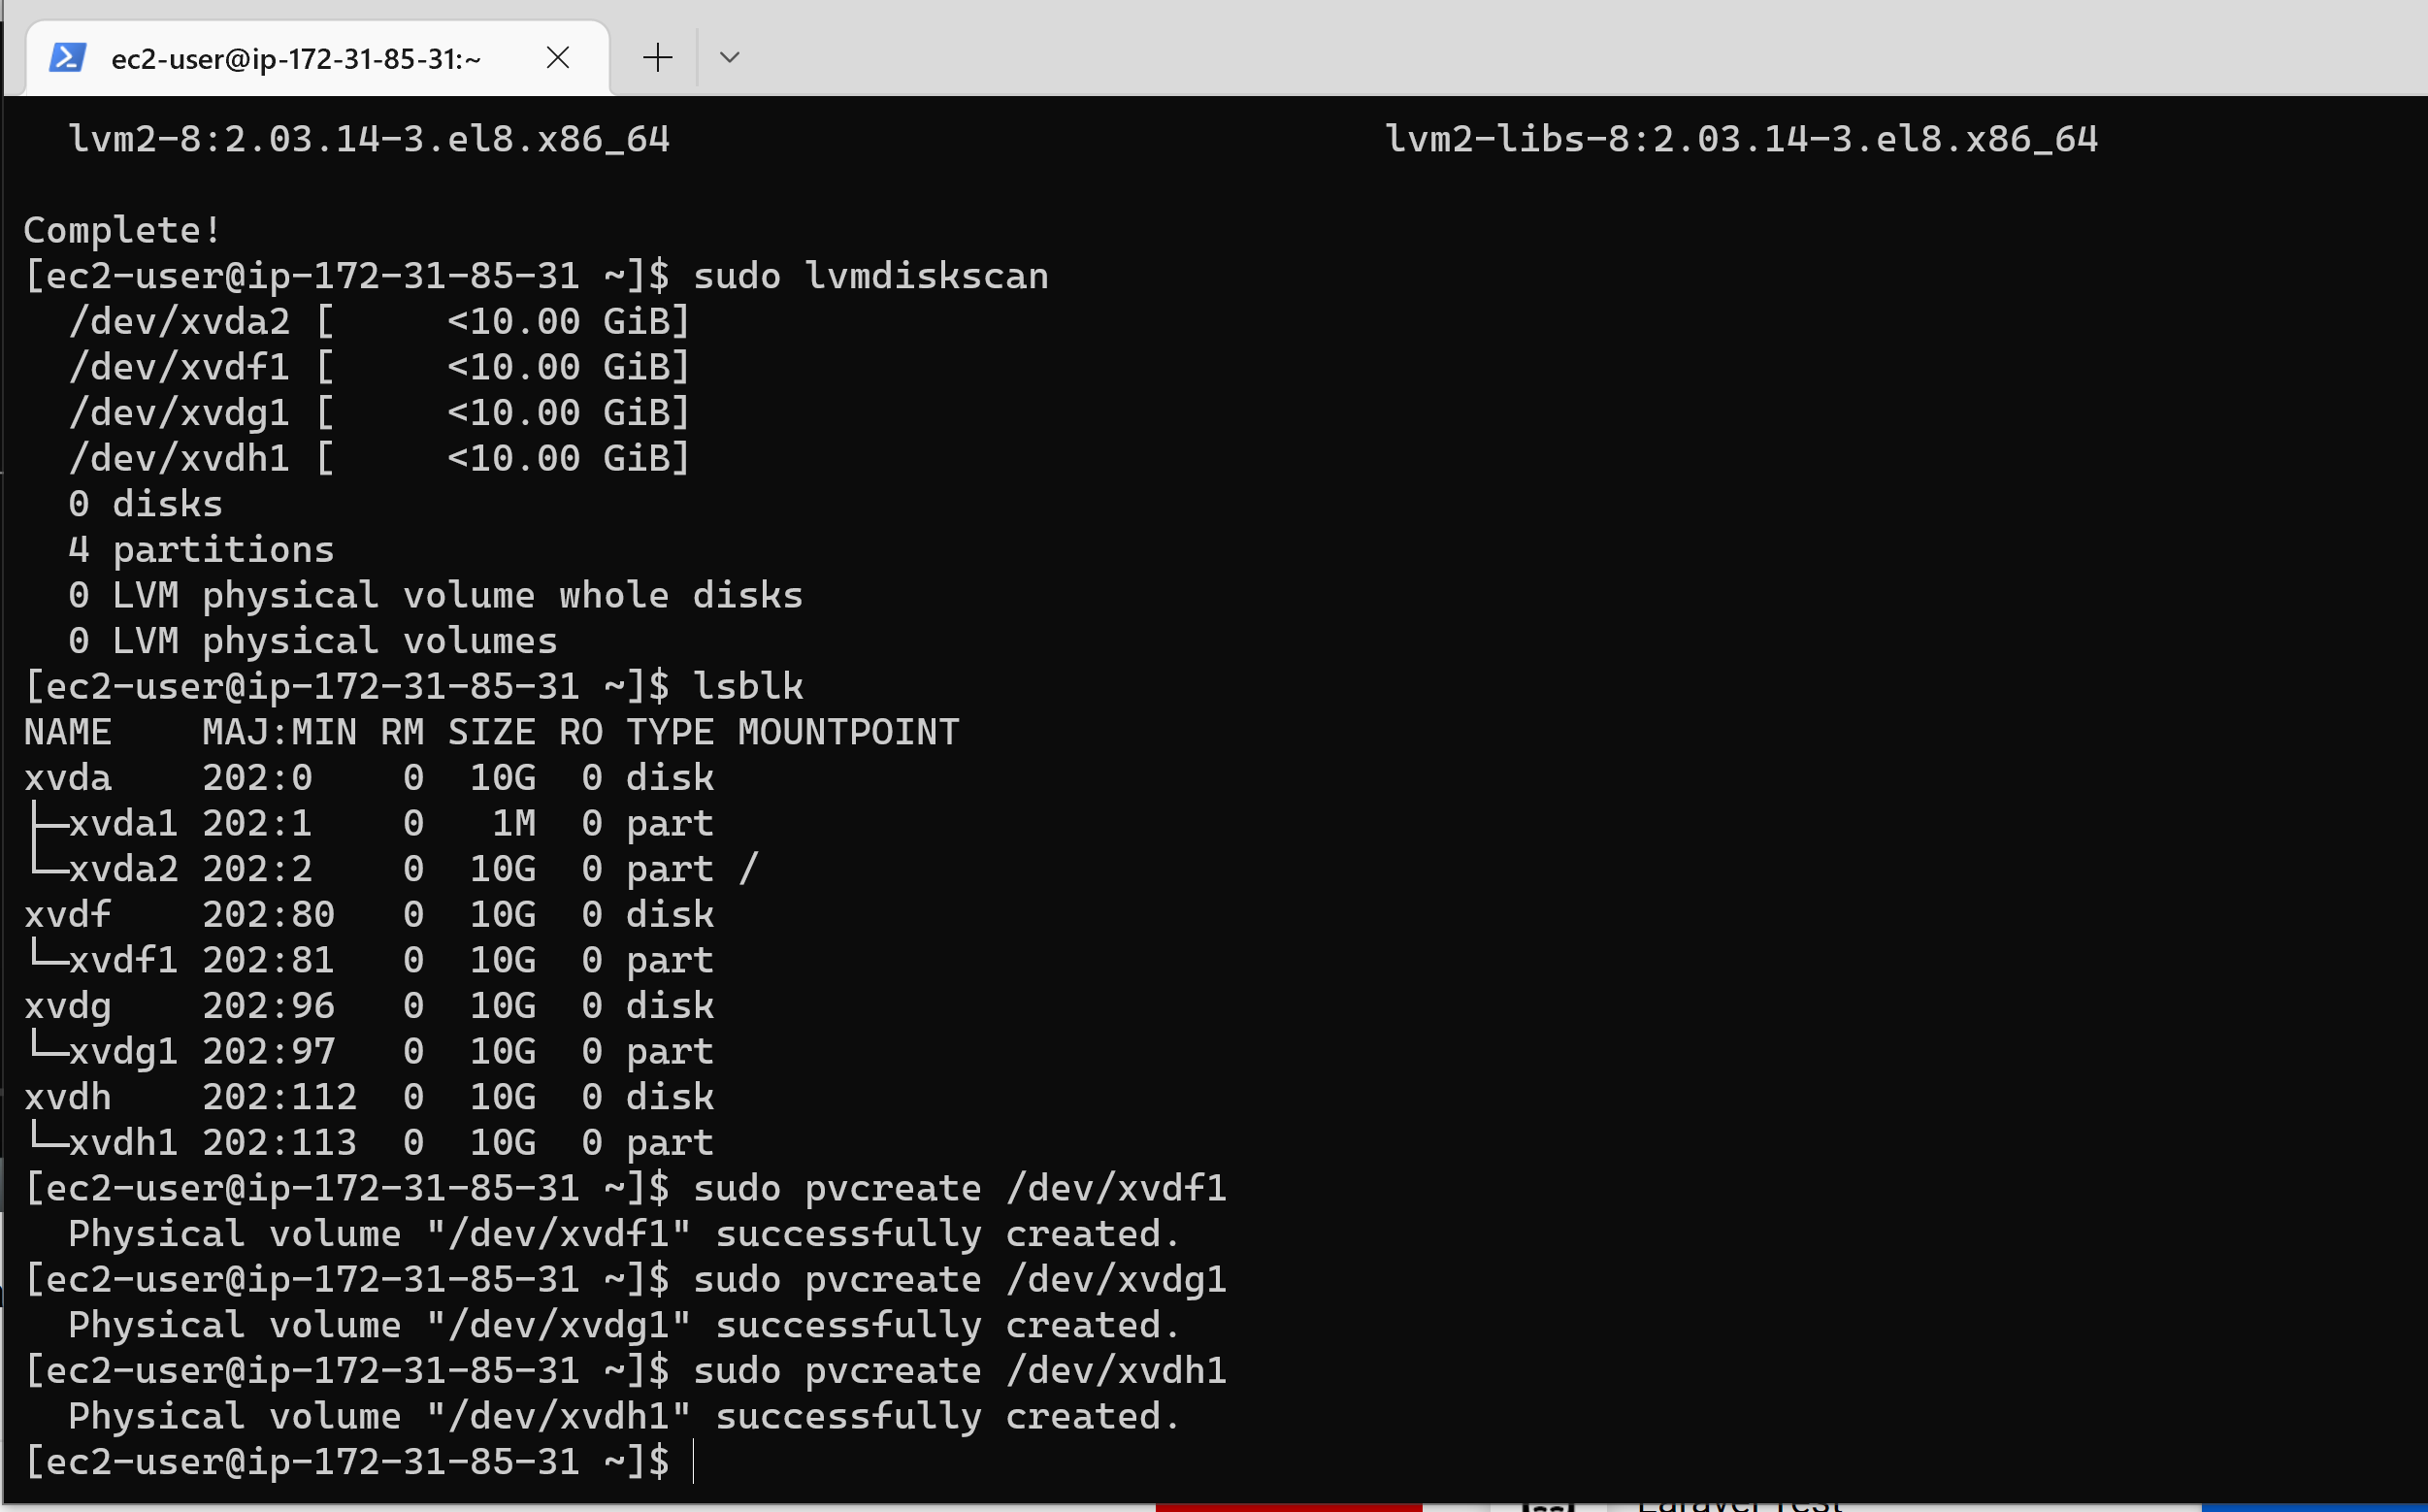
Install lvm2 package by typing:
sudo yum install lvm2then runsudo lvmdiskscancommand to check for available partitions.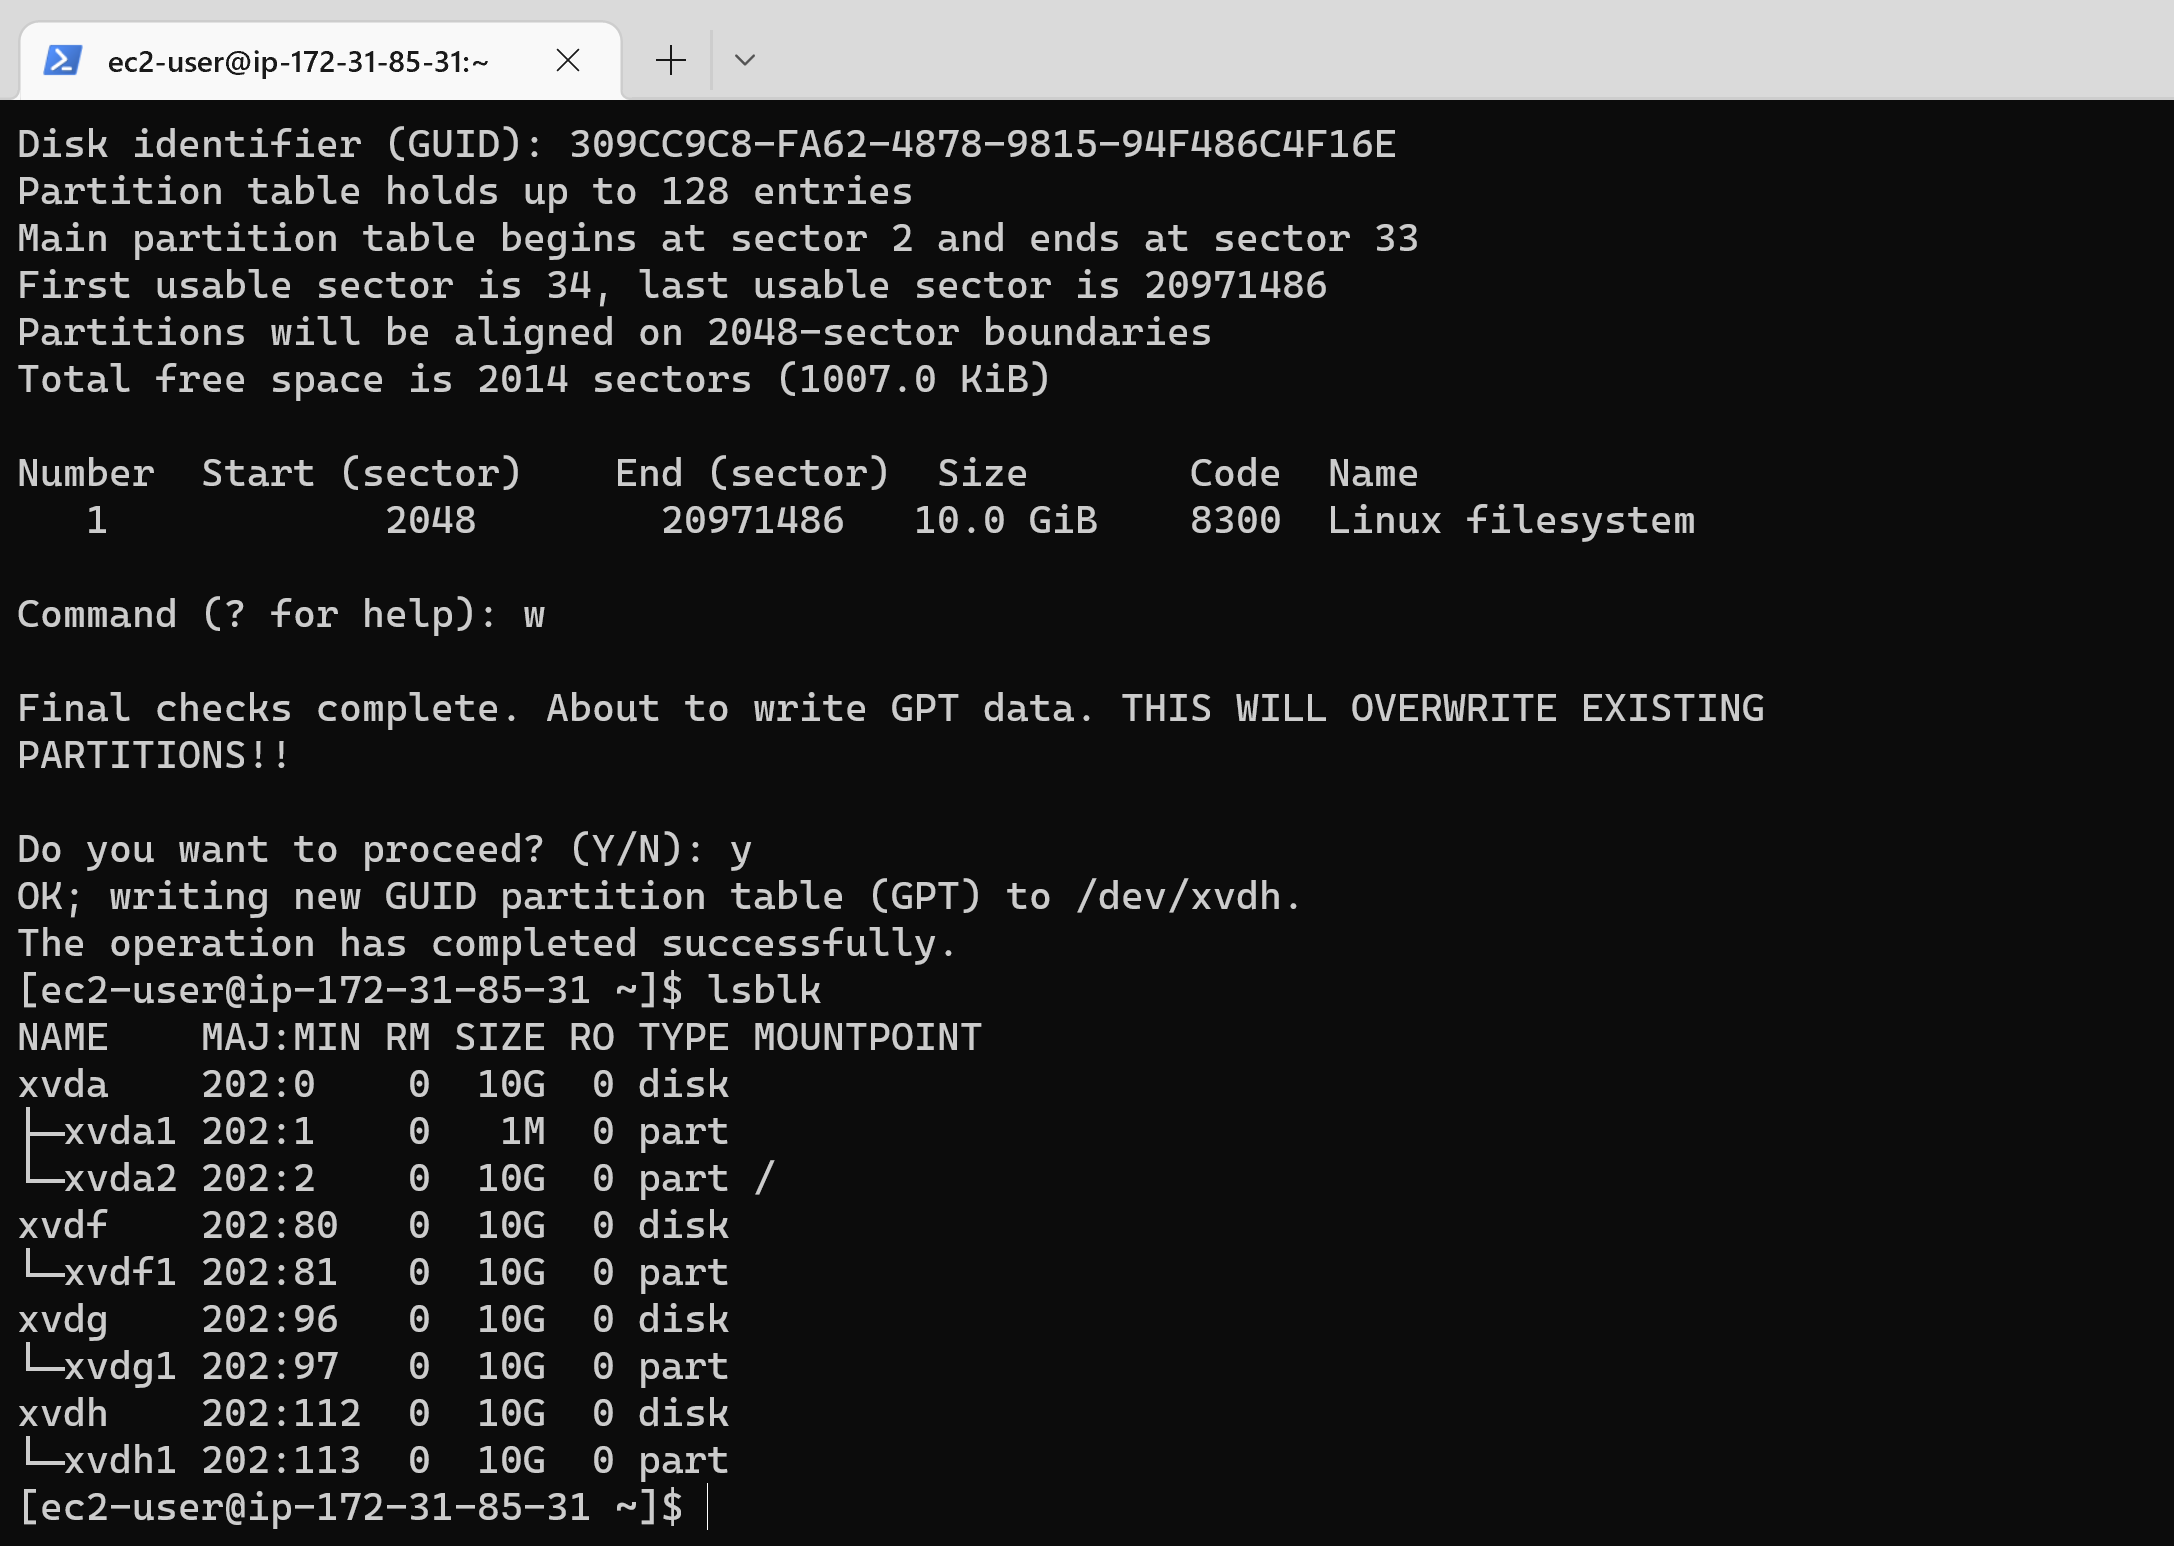
-
Create physical volume to be used by lvm by using the pvcreate command:
sudo pvcreate /dev/xvdf1
sudo pvcreate /dev/xvdg1
sudo pvcreate /dev/xvdh1
- To check if the PV have been created successfully, run:
sudo pvs - Next, Create the volume group and name it webdata-vg:
sudo vgcreate webdata-vg /dev/xvdf1 /dev/xvdg1 /dev/xvdh1 - View newly created volume group type:
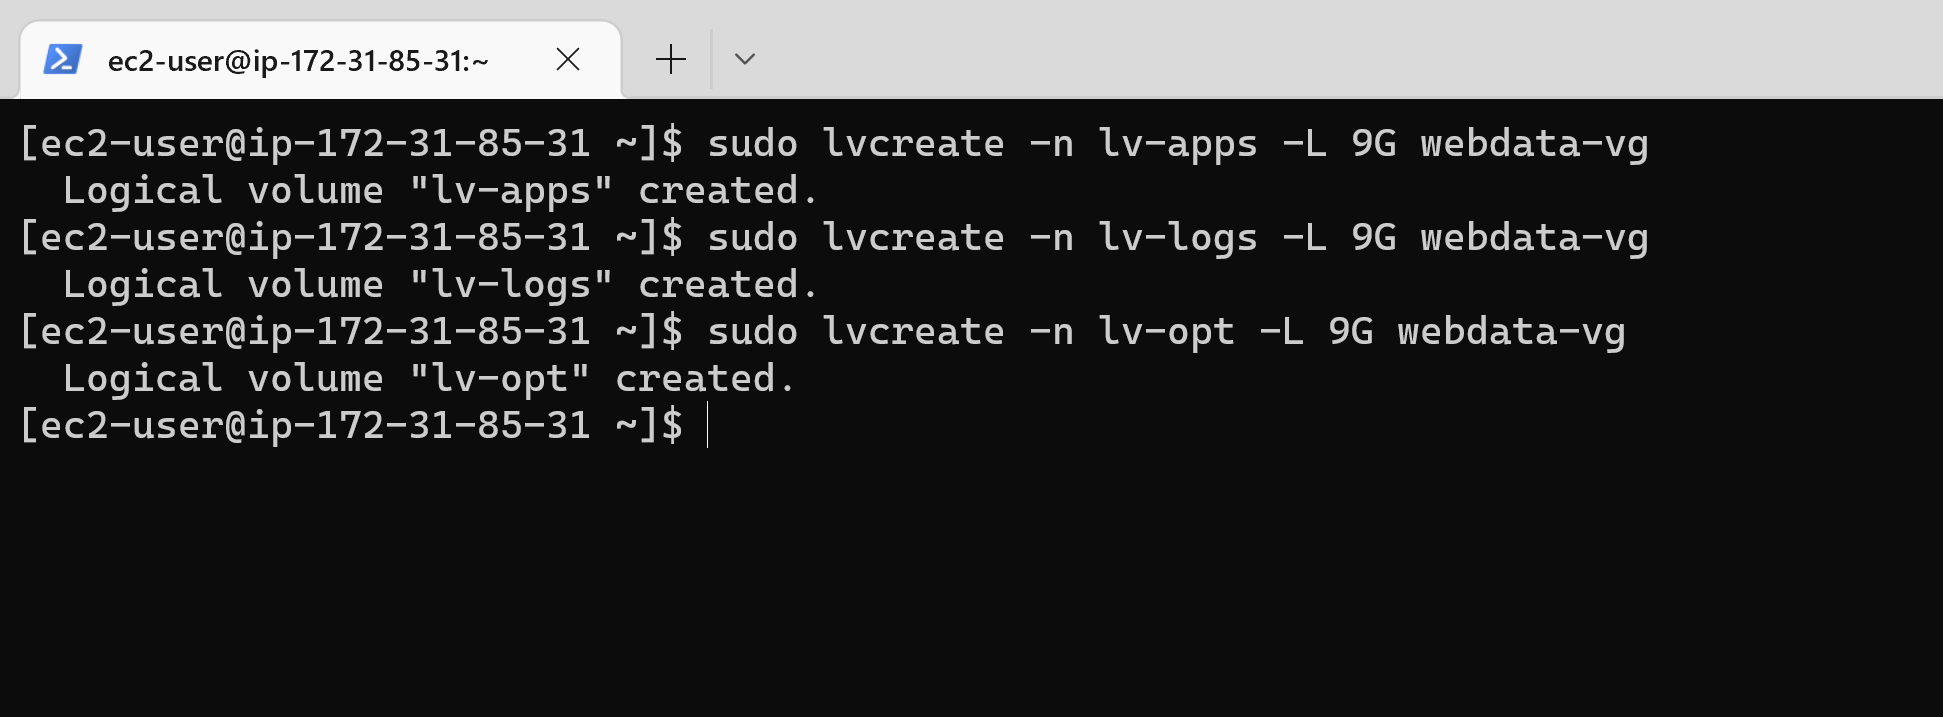
sudo vgs - Create 3 logical volumes using lvcreate utility. Name them: lv-apps for storing data for the website, lv-logs for storing data for logs and lv-opt for Jenkins Jenkins server in project 8.
sudo lvcreate -n lv-apps -L 9G webdata-vg
sudo lvcreate -n lv-logs -L 9G webdata-vg
sudo lvcreate -n lv-opt -L 9G webdata-vg
- Verify Logical Volume has been created successfully by running:
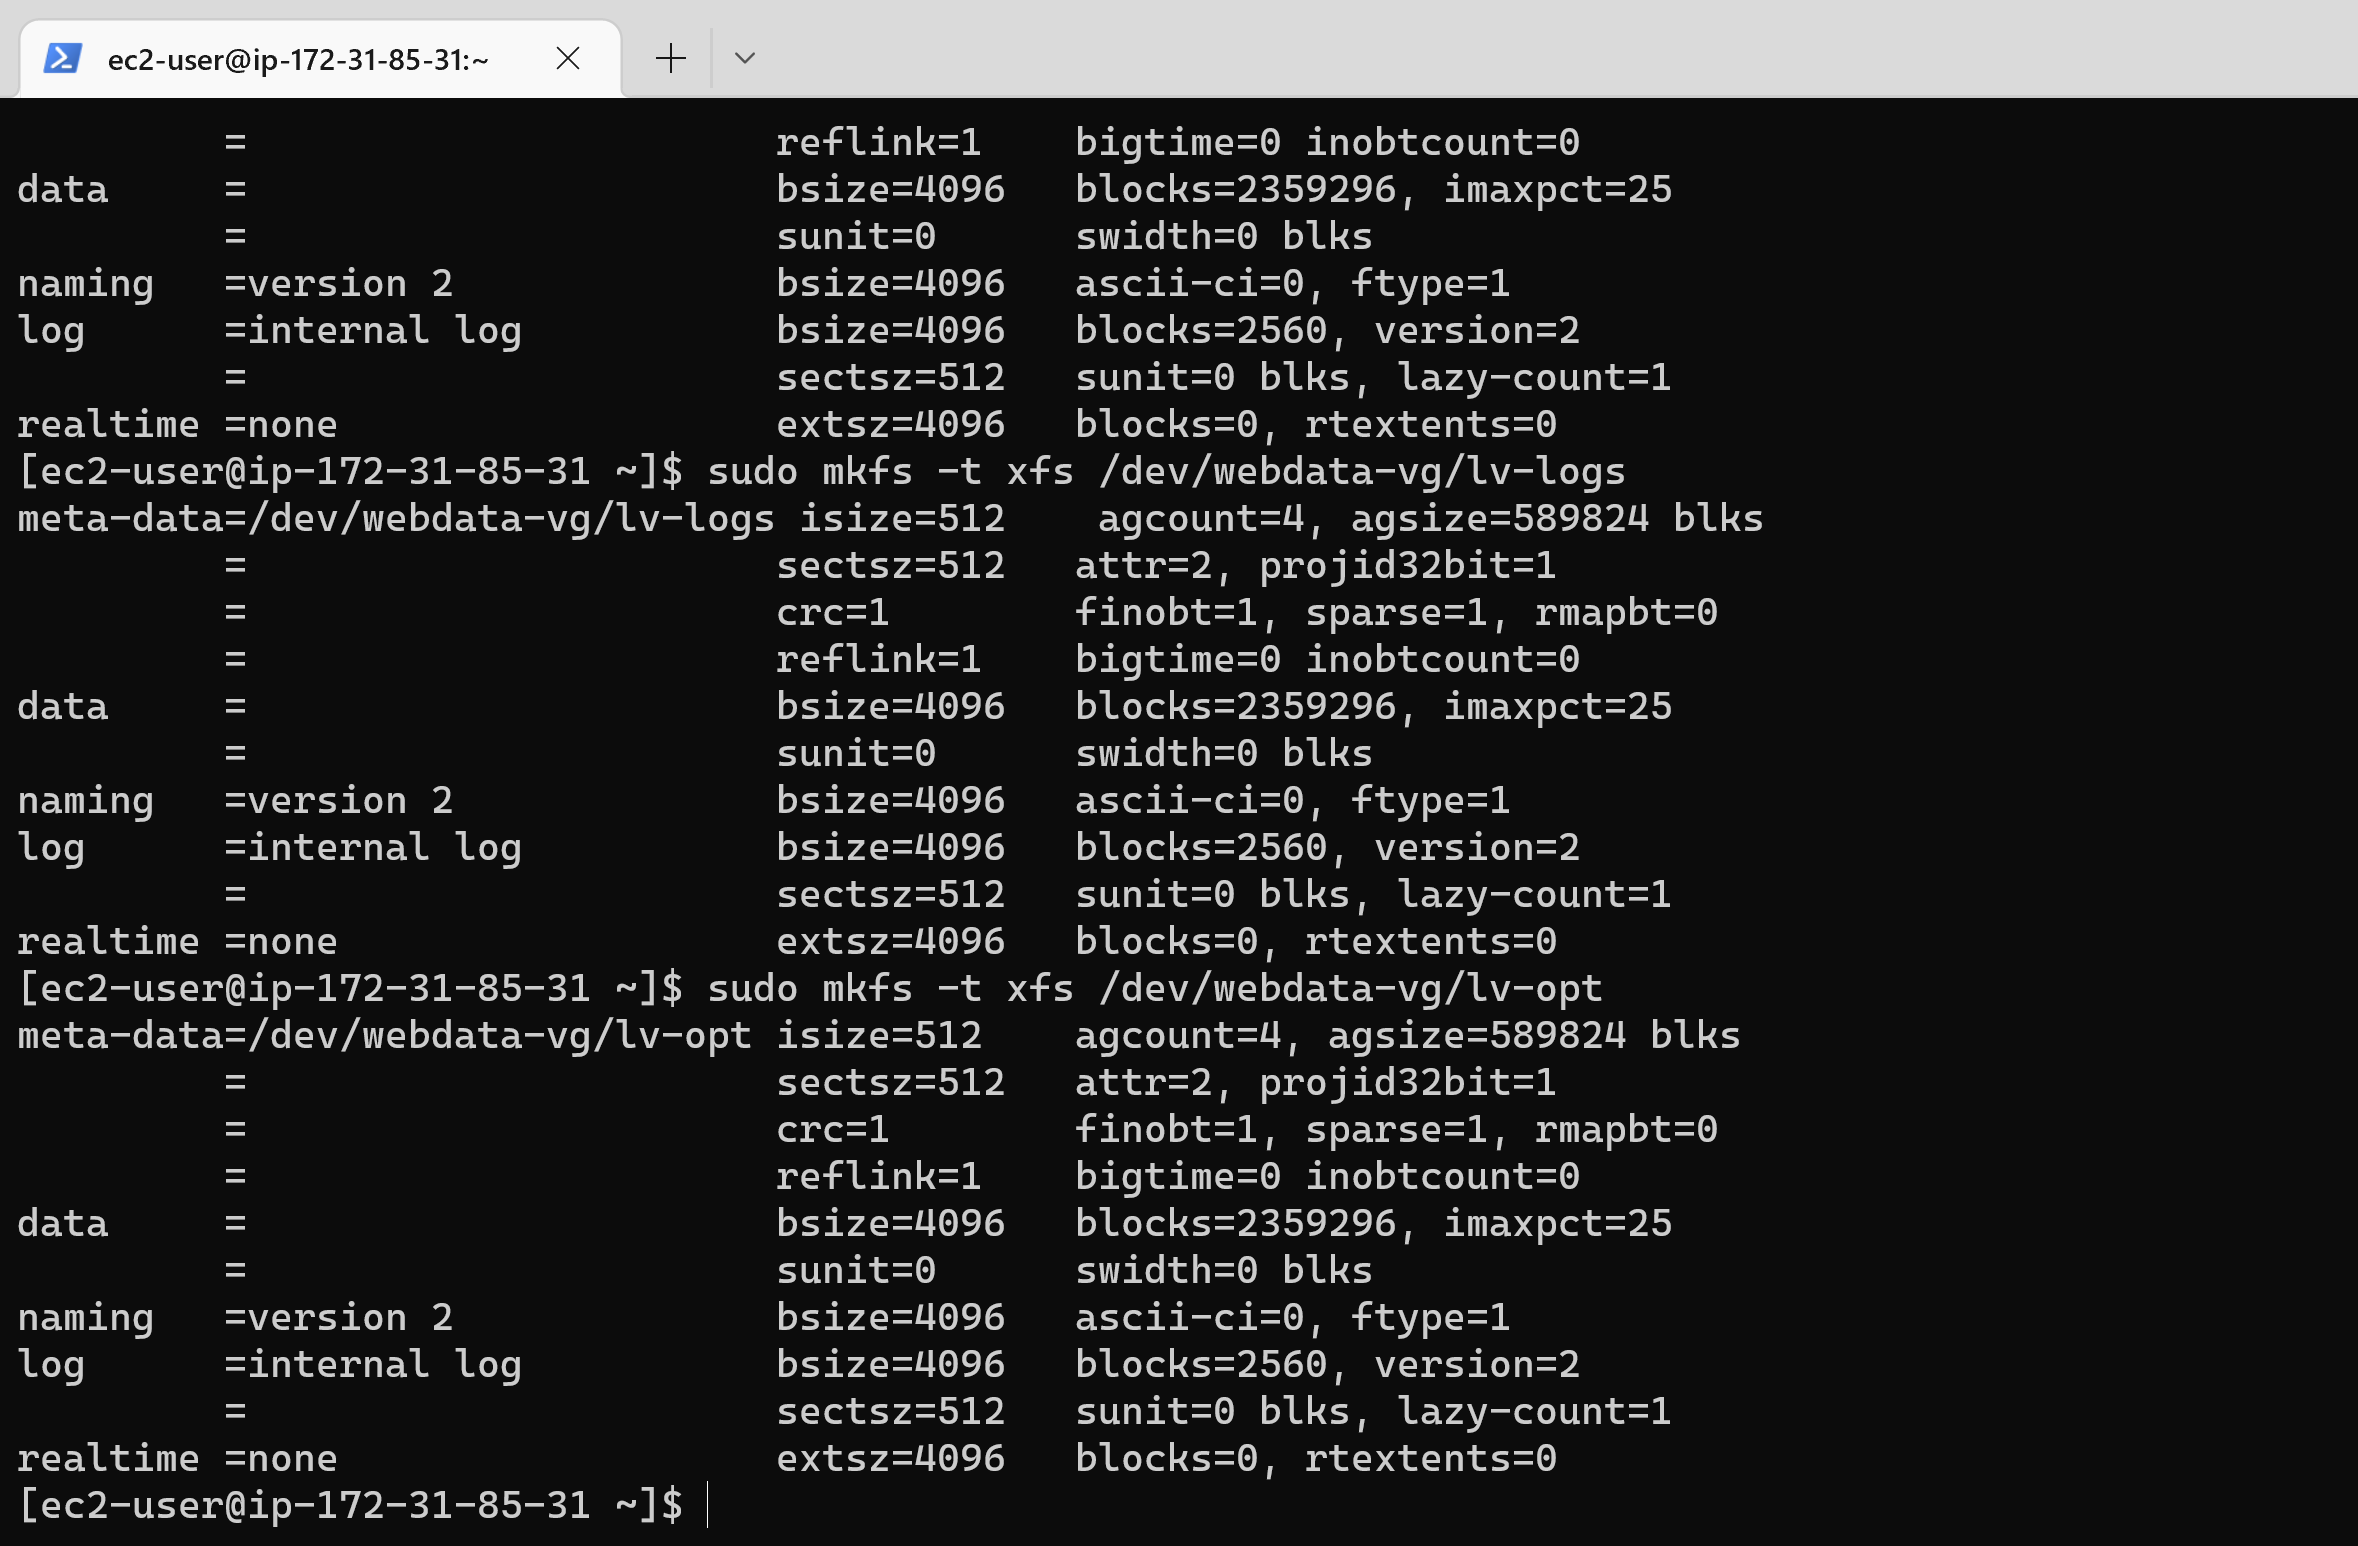
sudo lvs - Next, format the logical volumes with ext4 filesystem:
sudo mkfs -t xfs /dev/webdata-vg/lv-apps
sudo mkfs -t xfs /dev/webdata-vg/lv-logs
sudo mkfs -t xfs /dev/webdata-vg/lv-opt
- Next, create mount points for the logical volumes. Create /mnt/apps the following directory to store website files:
sudo mkdir /mnt/apps
sudo mkdir /mnt/logs
sudo mkdir /mnt/opt
- Mount to /dev/webdata-vg/lv-apps /dev/webdata-vg/lv-apps and /dev/webdata-vg/lv-opt respectievly :
sudo mount /dev/webdata-vg/lv-apps /mnt/apps
sudo mount /dev/webdata-vg/lv-logs /mnt/logs
sudo mount /dev/webdata-vg/lv-opt /mnt/opt
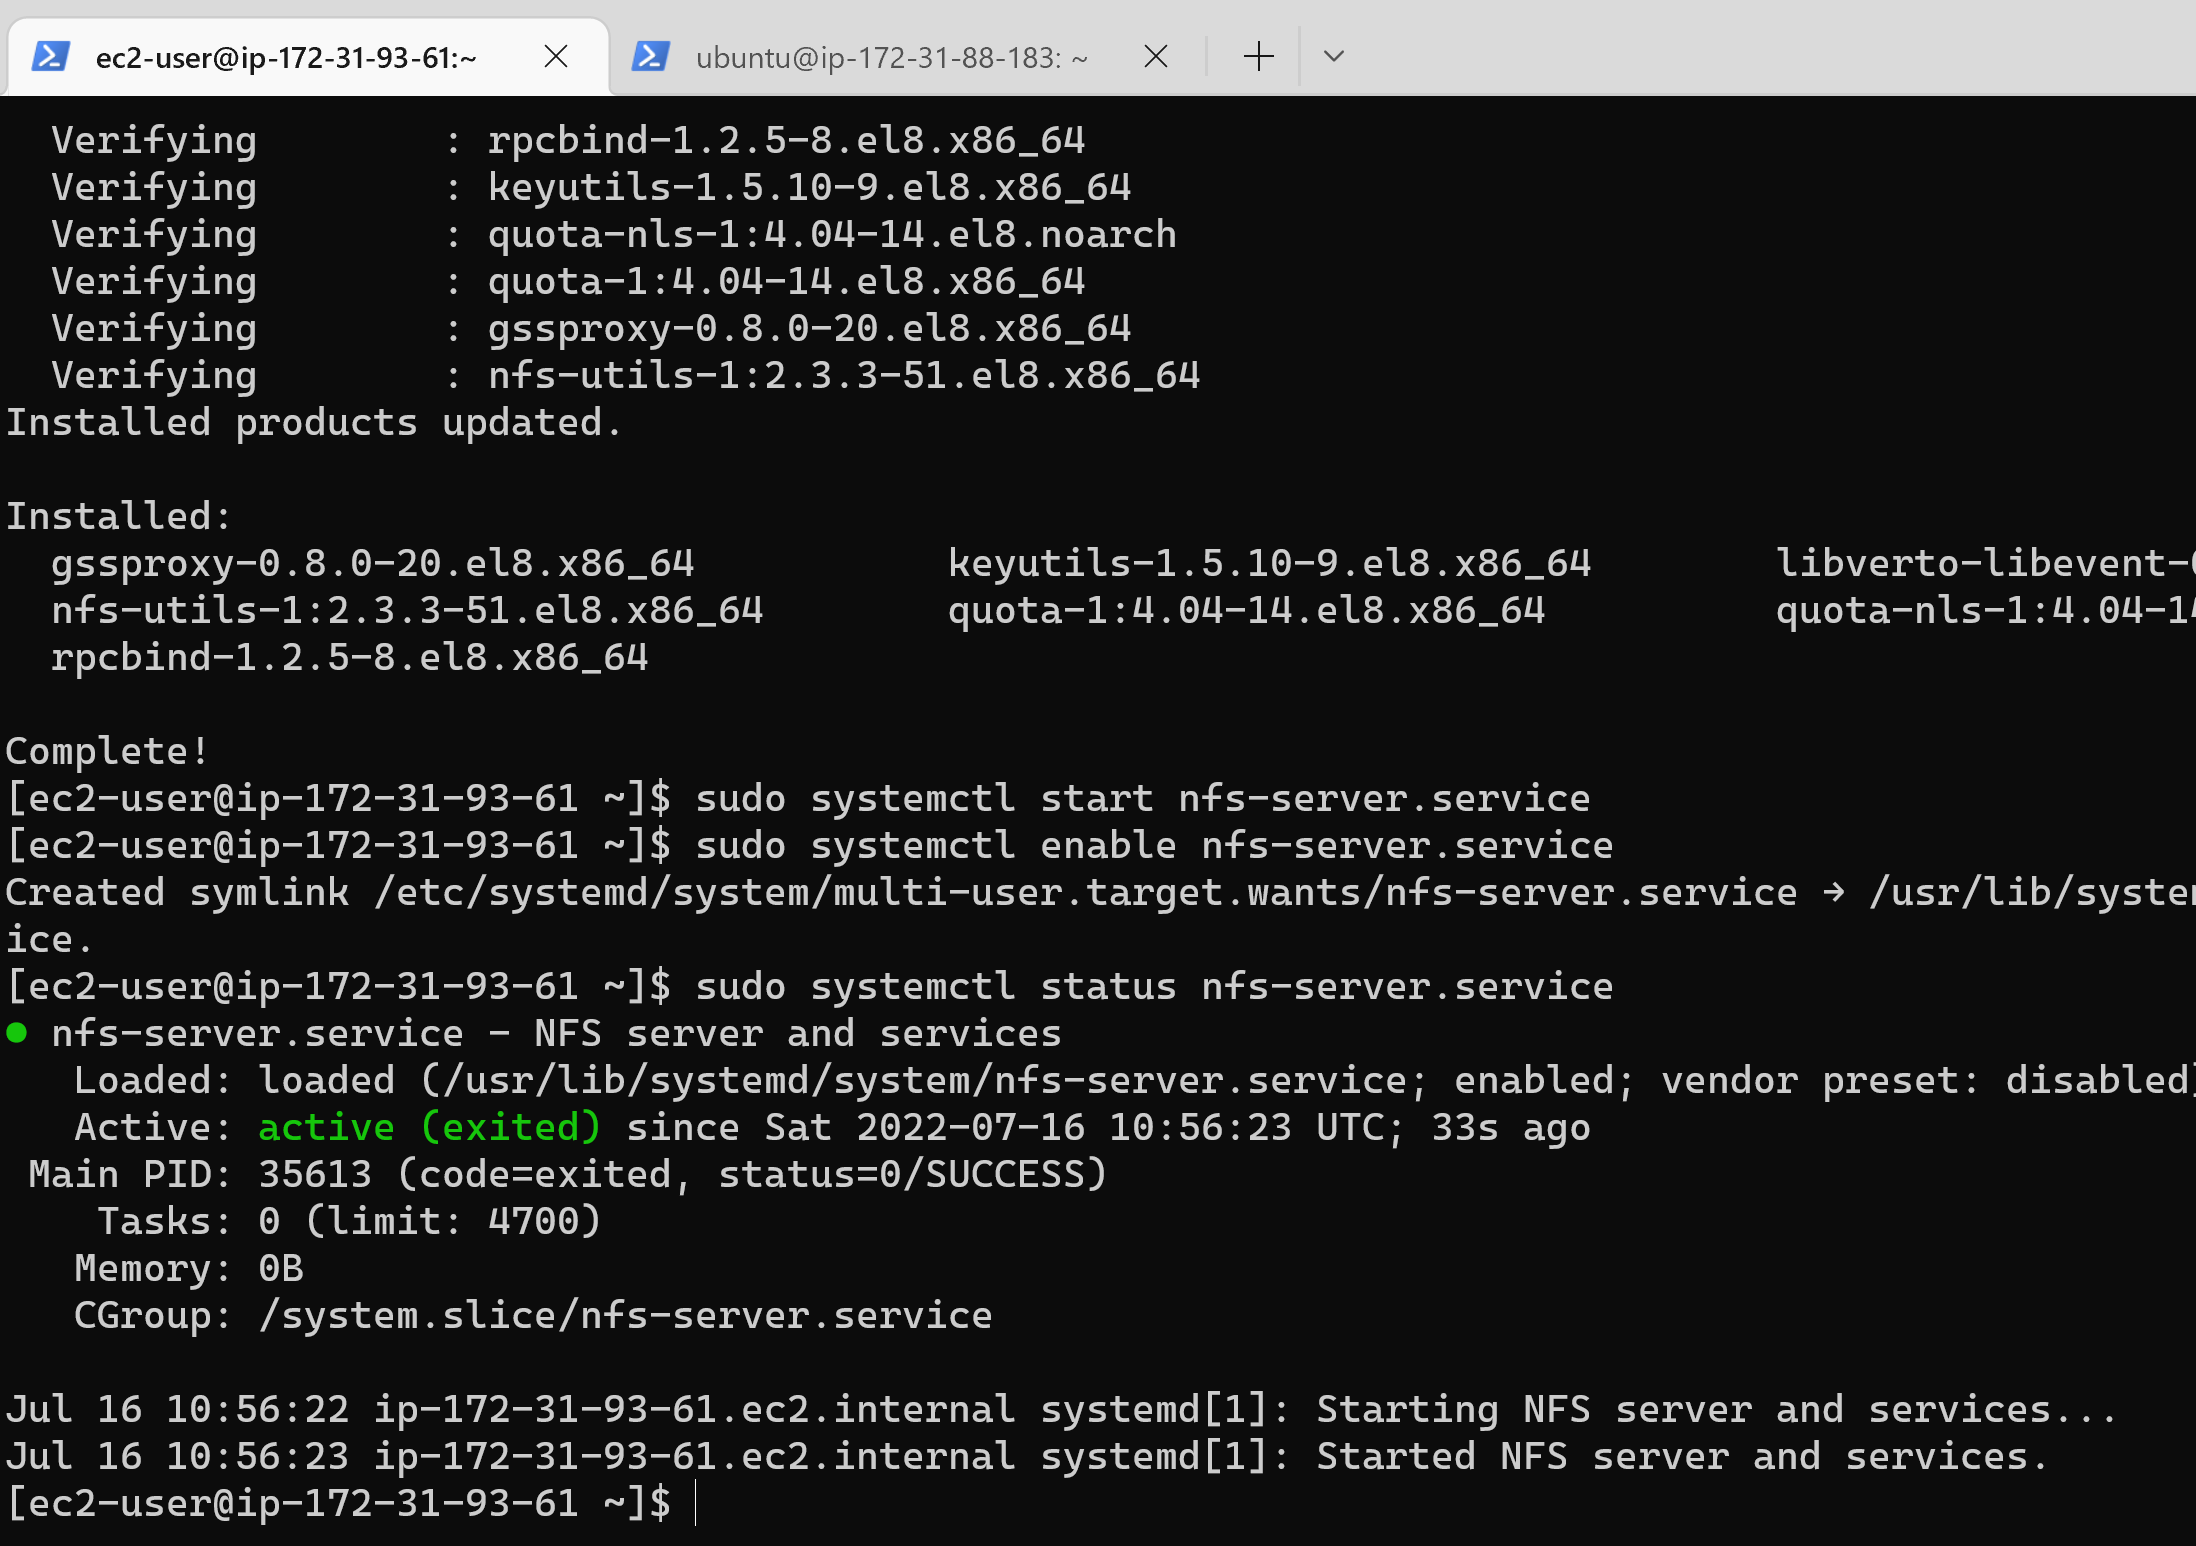
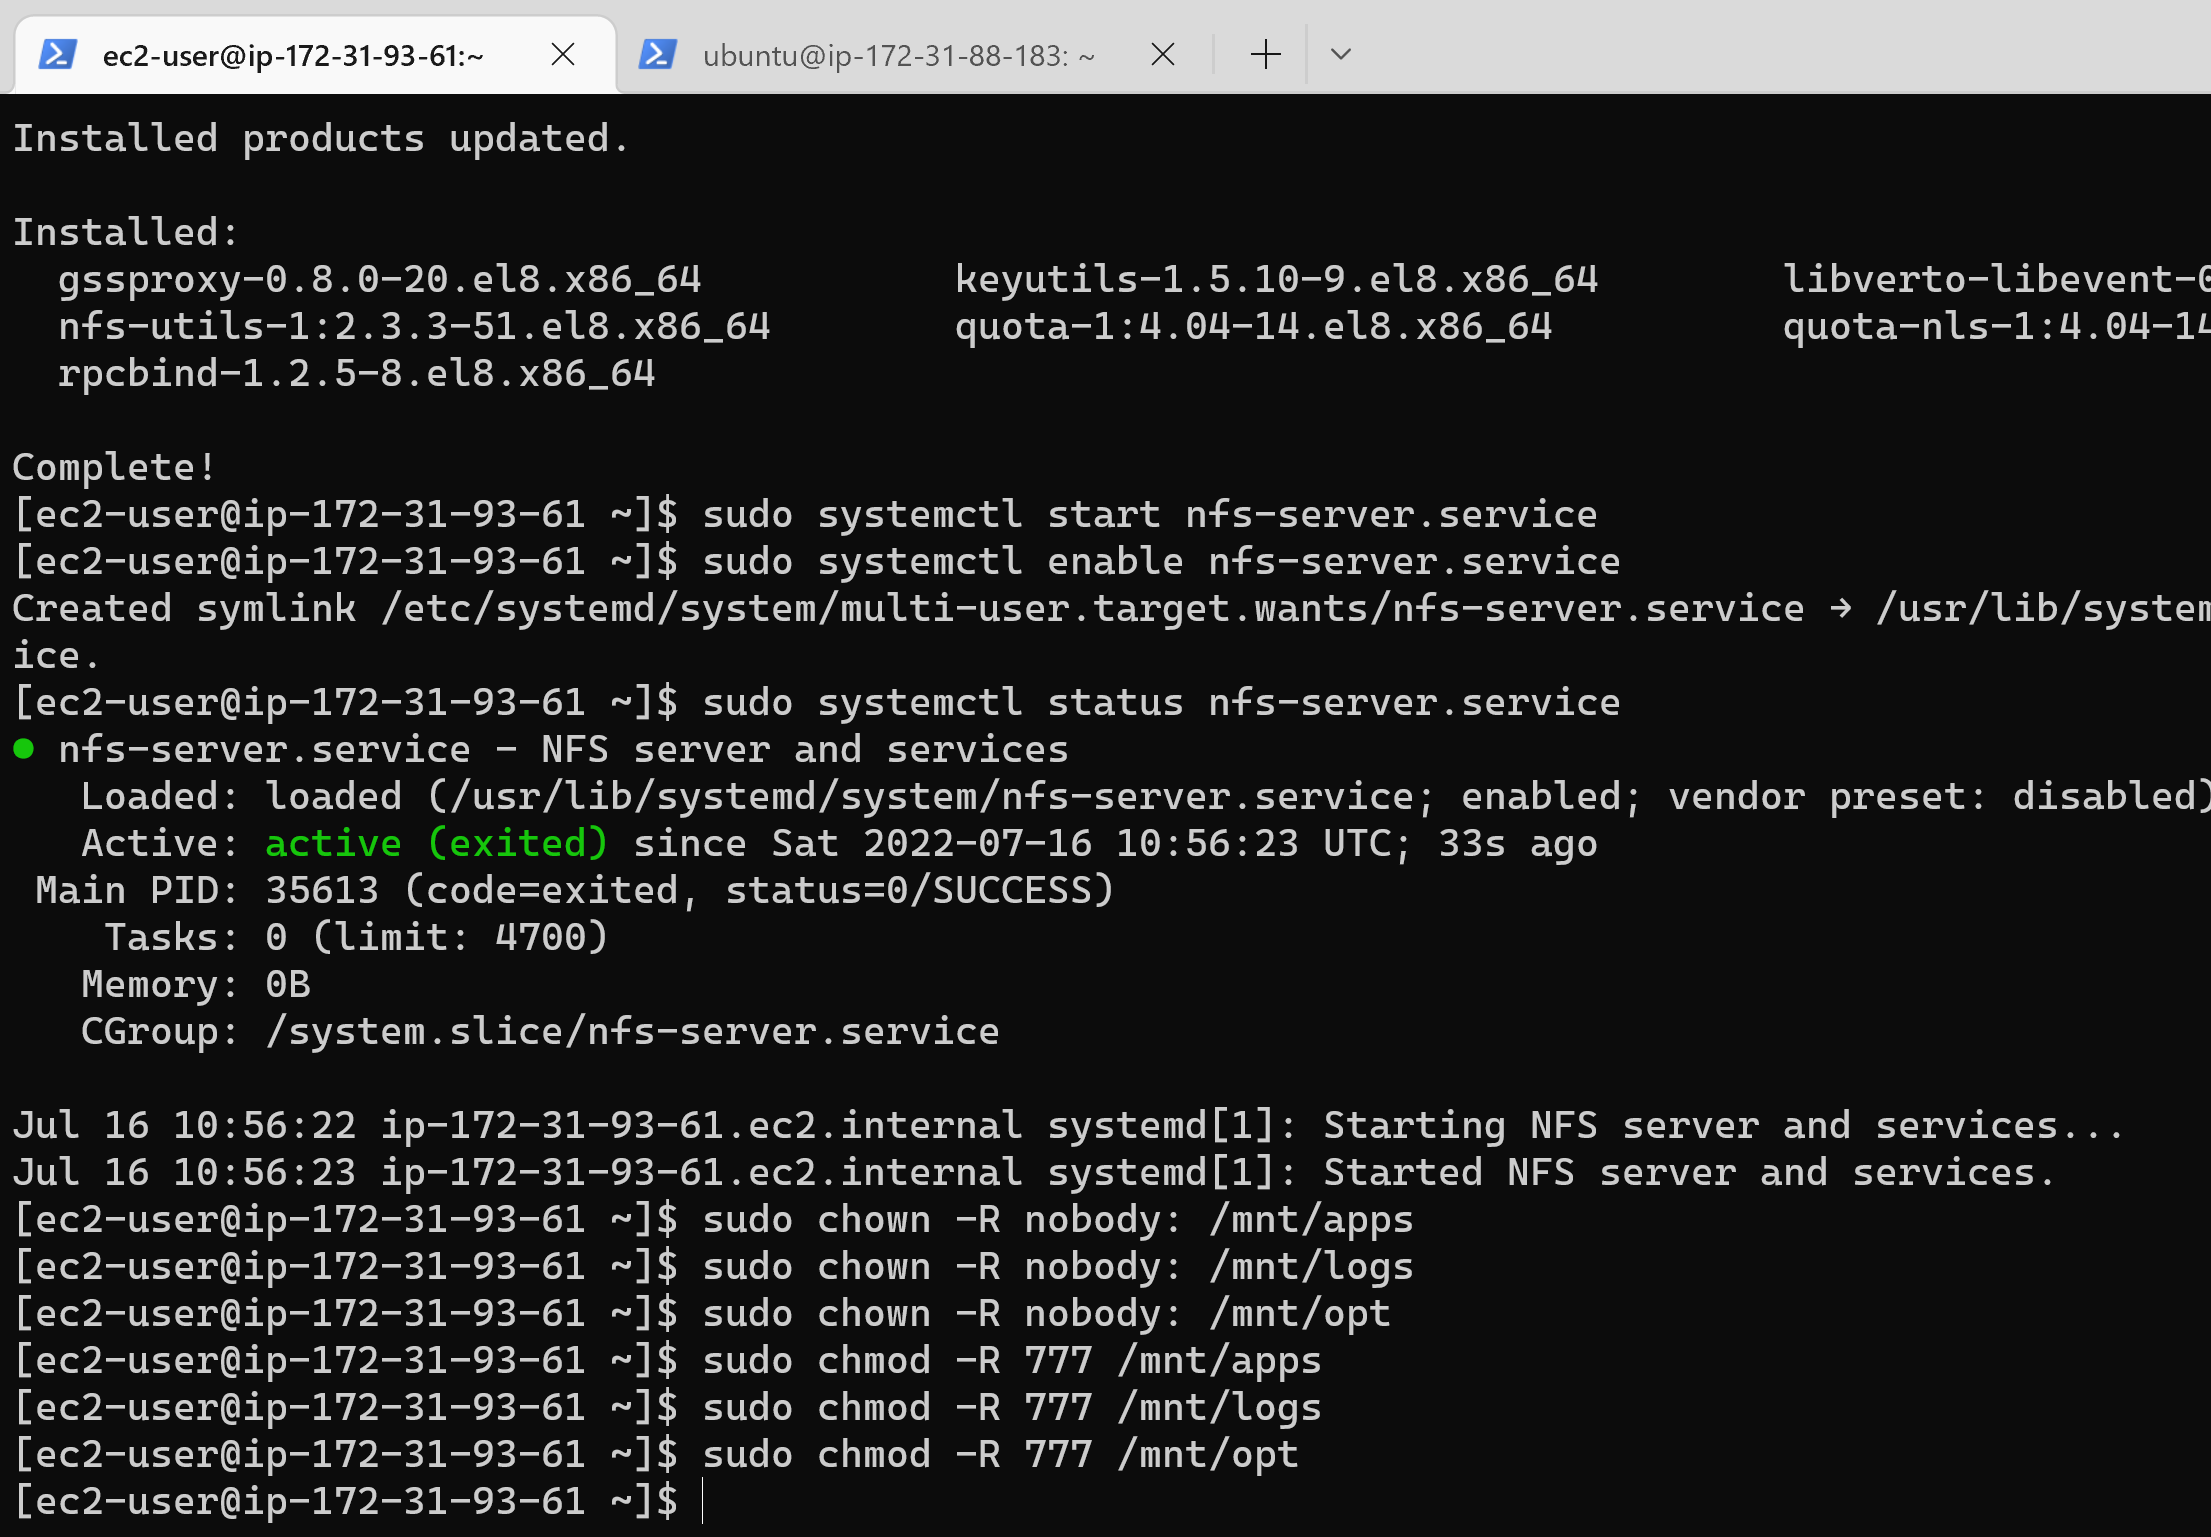
- Install NFS server, configure it to start on reboot and make sure it is up and running
sudo yum -y update
sudo yum install nfs-utils -y
sudo systemctl start nfs-server.service
sudo systemctl enable nfs-server.service
sudo systemctl status nfs-server.service
 17. Export the mounts for webservers’ subnet cidr to connect as clients. For simplicity, install your all three Web Servers inside the same subnet, but in production set up you would probably want to separate each tier inside its own subnet for higher level of security.
18. Set up permission that will allow our Web servers to read, write and execute files on NFS:
17. Export the mounts for webservers’ subnet cidr to connect as clients. For simplicity, install your all three Web Servers inside the same subnet, but in production set up you would probably want to separate each tier inside its own subnet for higher level of security.
18. Set up permission that will allow our Web servers to read, write and execute files on NFS:
sudo chown -R nobody: /mnt/apps
sudo chown -R nobody: /mnt/logs
sudo chown -R nobody: /mnt/opt

sudo chmod -R 777 /mnt/apps
sudo chmod -R 777 /mnt/logs
sudo chmod -R 777 /mnt/opt

sudo systemctl restart nfs-server.service
 19. In your choosen text editor, configure access to NFS for clients within the same subnet (my Subnet CIDR – 172.31.80.0/20 ):
sudo vi /etc/exports

/mnt/apps 172.31.80.0/20(rw,sync,no_all_squash,no_root_squash)
/mnt/logs 172.31.80.0/20(rw,sync,no_all_squash,no_root_squash)
/mnt/opt 172.31.80.0/20(rw,sync,no_all_squash,no_root_squash)

Esc + :wq!

sudo exportfs -arv
- Check which port is used by NFS and open it using Security Groups (add new Inbound Rule)
rpcinfo -p | grep nfs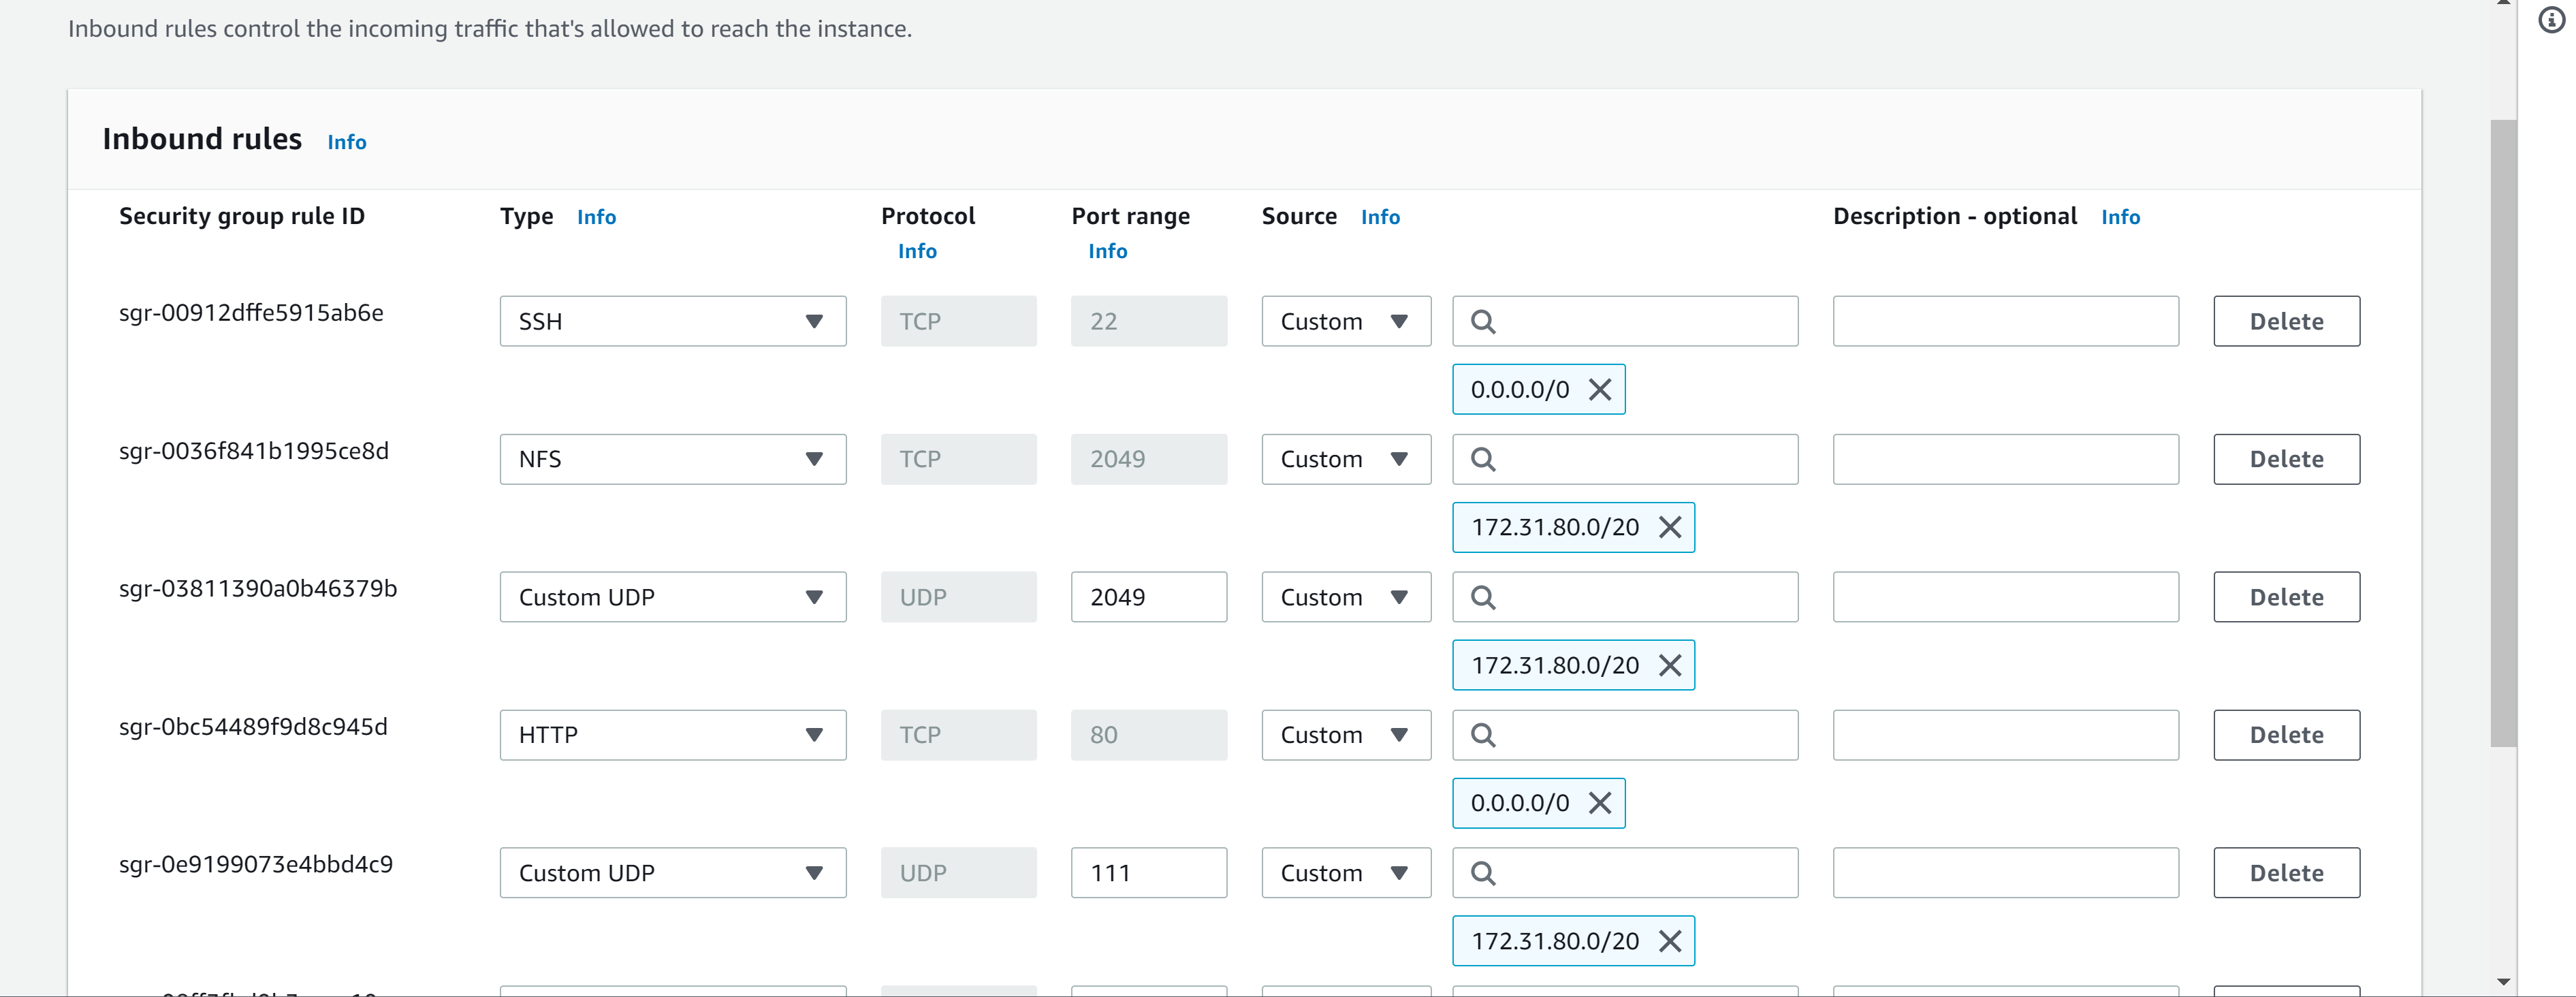
- Install and configure a MySQL DBMS to work with remote Web Server
- SSH in to the provisioned DB server and run an update on the server:
sudo apt update - Install mysql-server:
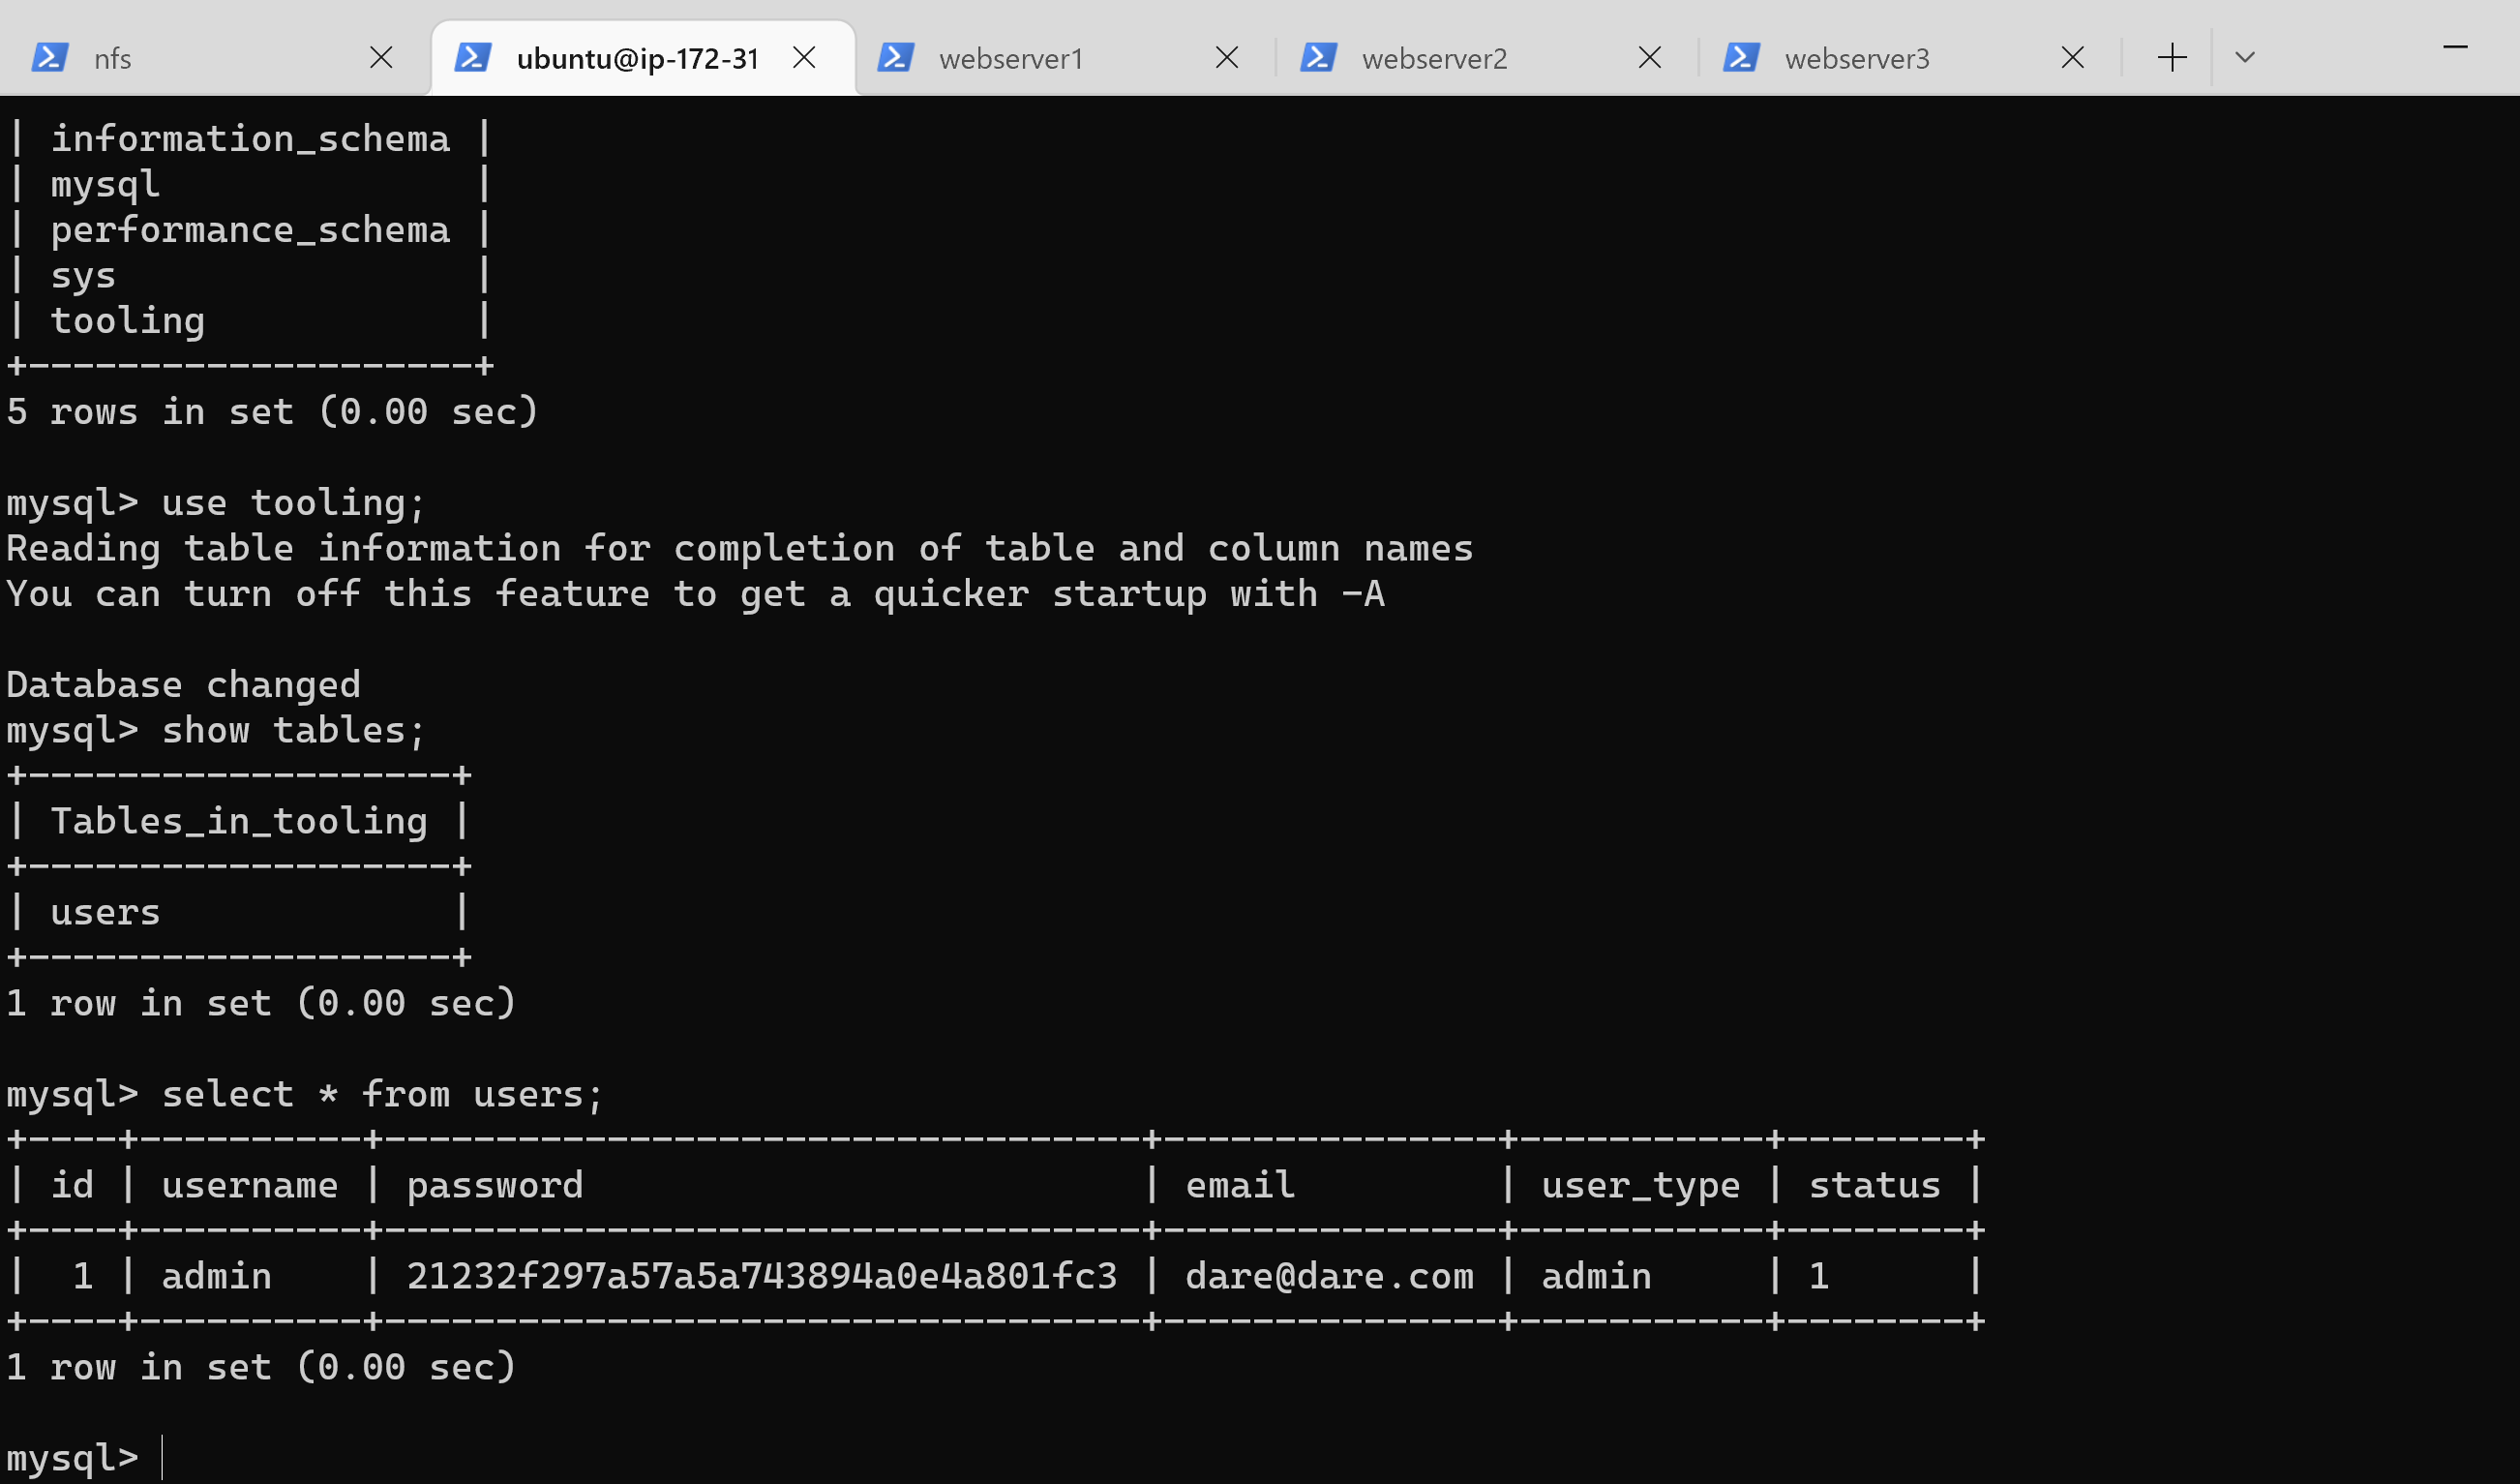
sudo apt install mysql-server -y - Create a database and name it tooling:
sudo my sql
create database tooling;
- Create a database user and name it webaccess and grant permission to webaccess user on tooling database to do anything only from the webservers subnet cidr:
create user 'webaccess'@'172.31.80.0/20' identified by 'password';
grant all privilleges on tooling.* to 'webaccess'@'172.31.80.0/20';
flush privileges;
- To show database run:
show databases;
- Install NFS client on the webserver1:
sudo yum install nfs-utils nfs4-acl-tools -y - Mount /var/www/ and target the NFS server’s export for apps (Use the private IP of the NFS server)
sudo mkdir /var/www
sudo mount -t nfs -o rw,nosuid 172.31.85.14:/mnt/apps /var/www
- Verify that NFS was mounted successfully by running
df -hMake sure that the changes will persist on Web Server after reboot:sudo vi /etc/fstab - Add the following line in the configuration file:
172.31.85.14:/mnt/apps /var/www nfs defaults 0 0 - Install Remi’s repository, Apache and PHP:
sudo yum install httpd -y
sudo dnf install https://dl.fedoraproject.org/pub/epel/epel-release-latest-8.noarch.rpm
sudo dnf install dnf-utils http://rpms.remirepo.net/enterprise/remi-release-8.rpm
sudo dnf module reset php
sudo dnf module enable php:remi-7.4
sudo dnf install php php-opcache php-gd php-curl php-mysqlnd
sudo systemctl start php-fpm
sudo systemctl enable php-fpm
setsebool -P httpd_execmem 1
-
Repeat steps 1-5 for the other 2 webservers
-
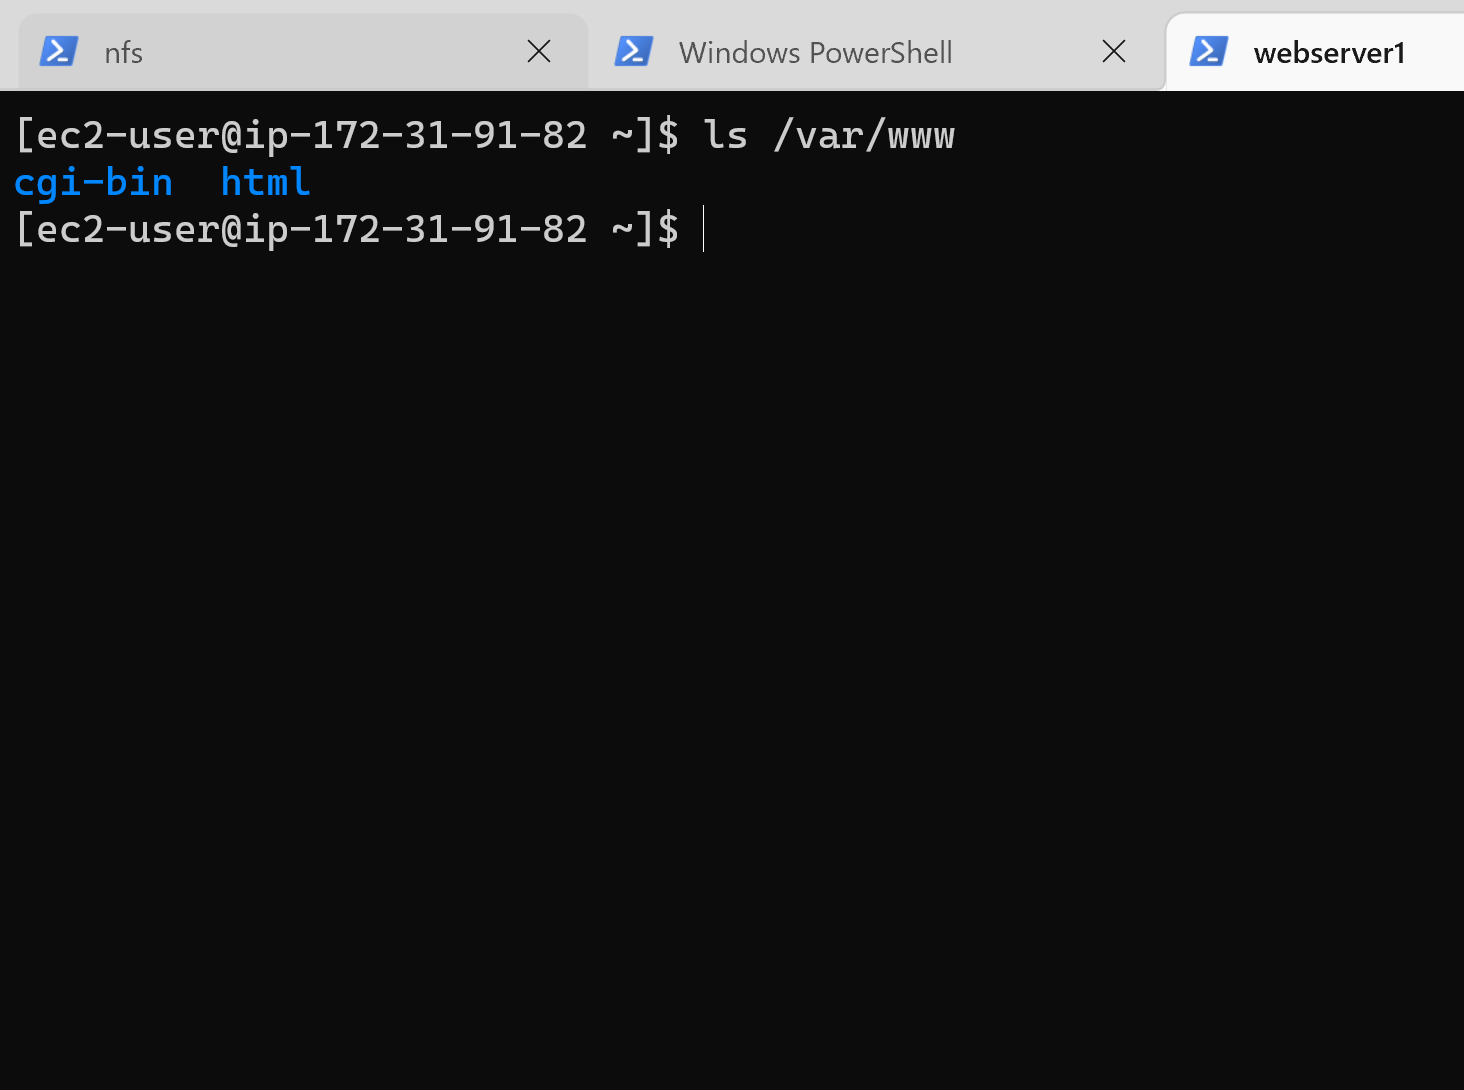
Verify that Apache files and directories are available on the Web Server in /var/www and also on the NFS server in /mnt/apps.
-
Locate the log folder for Apache on the Web Server and mount it to NFS server’s export for logs. Repeat step №3 and №4 to make sure the mount point will persist after reboot:
sudo mount -t nfs -o rw,nosuid 172.31.85.14:/mnt/logs /var/log/httpd
sudo vi /etc/fstab
172.31.85.14:/mnt/logs /var/log/httpd nfs defaults 0 0
-
Fork the tooling source code from Darey.io Github Account to your Github account.
-
Begin by installing git on the webserver:
sudo yum install git -y -
Initialize Git:
git init -
Then run:
git clone https://github.com/darey-io/tooling.git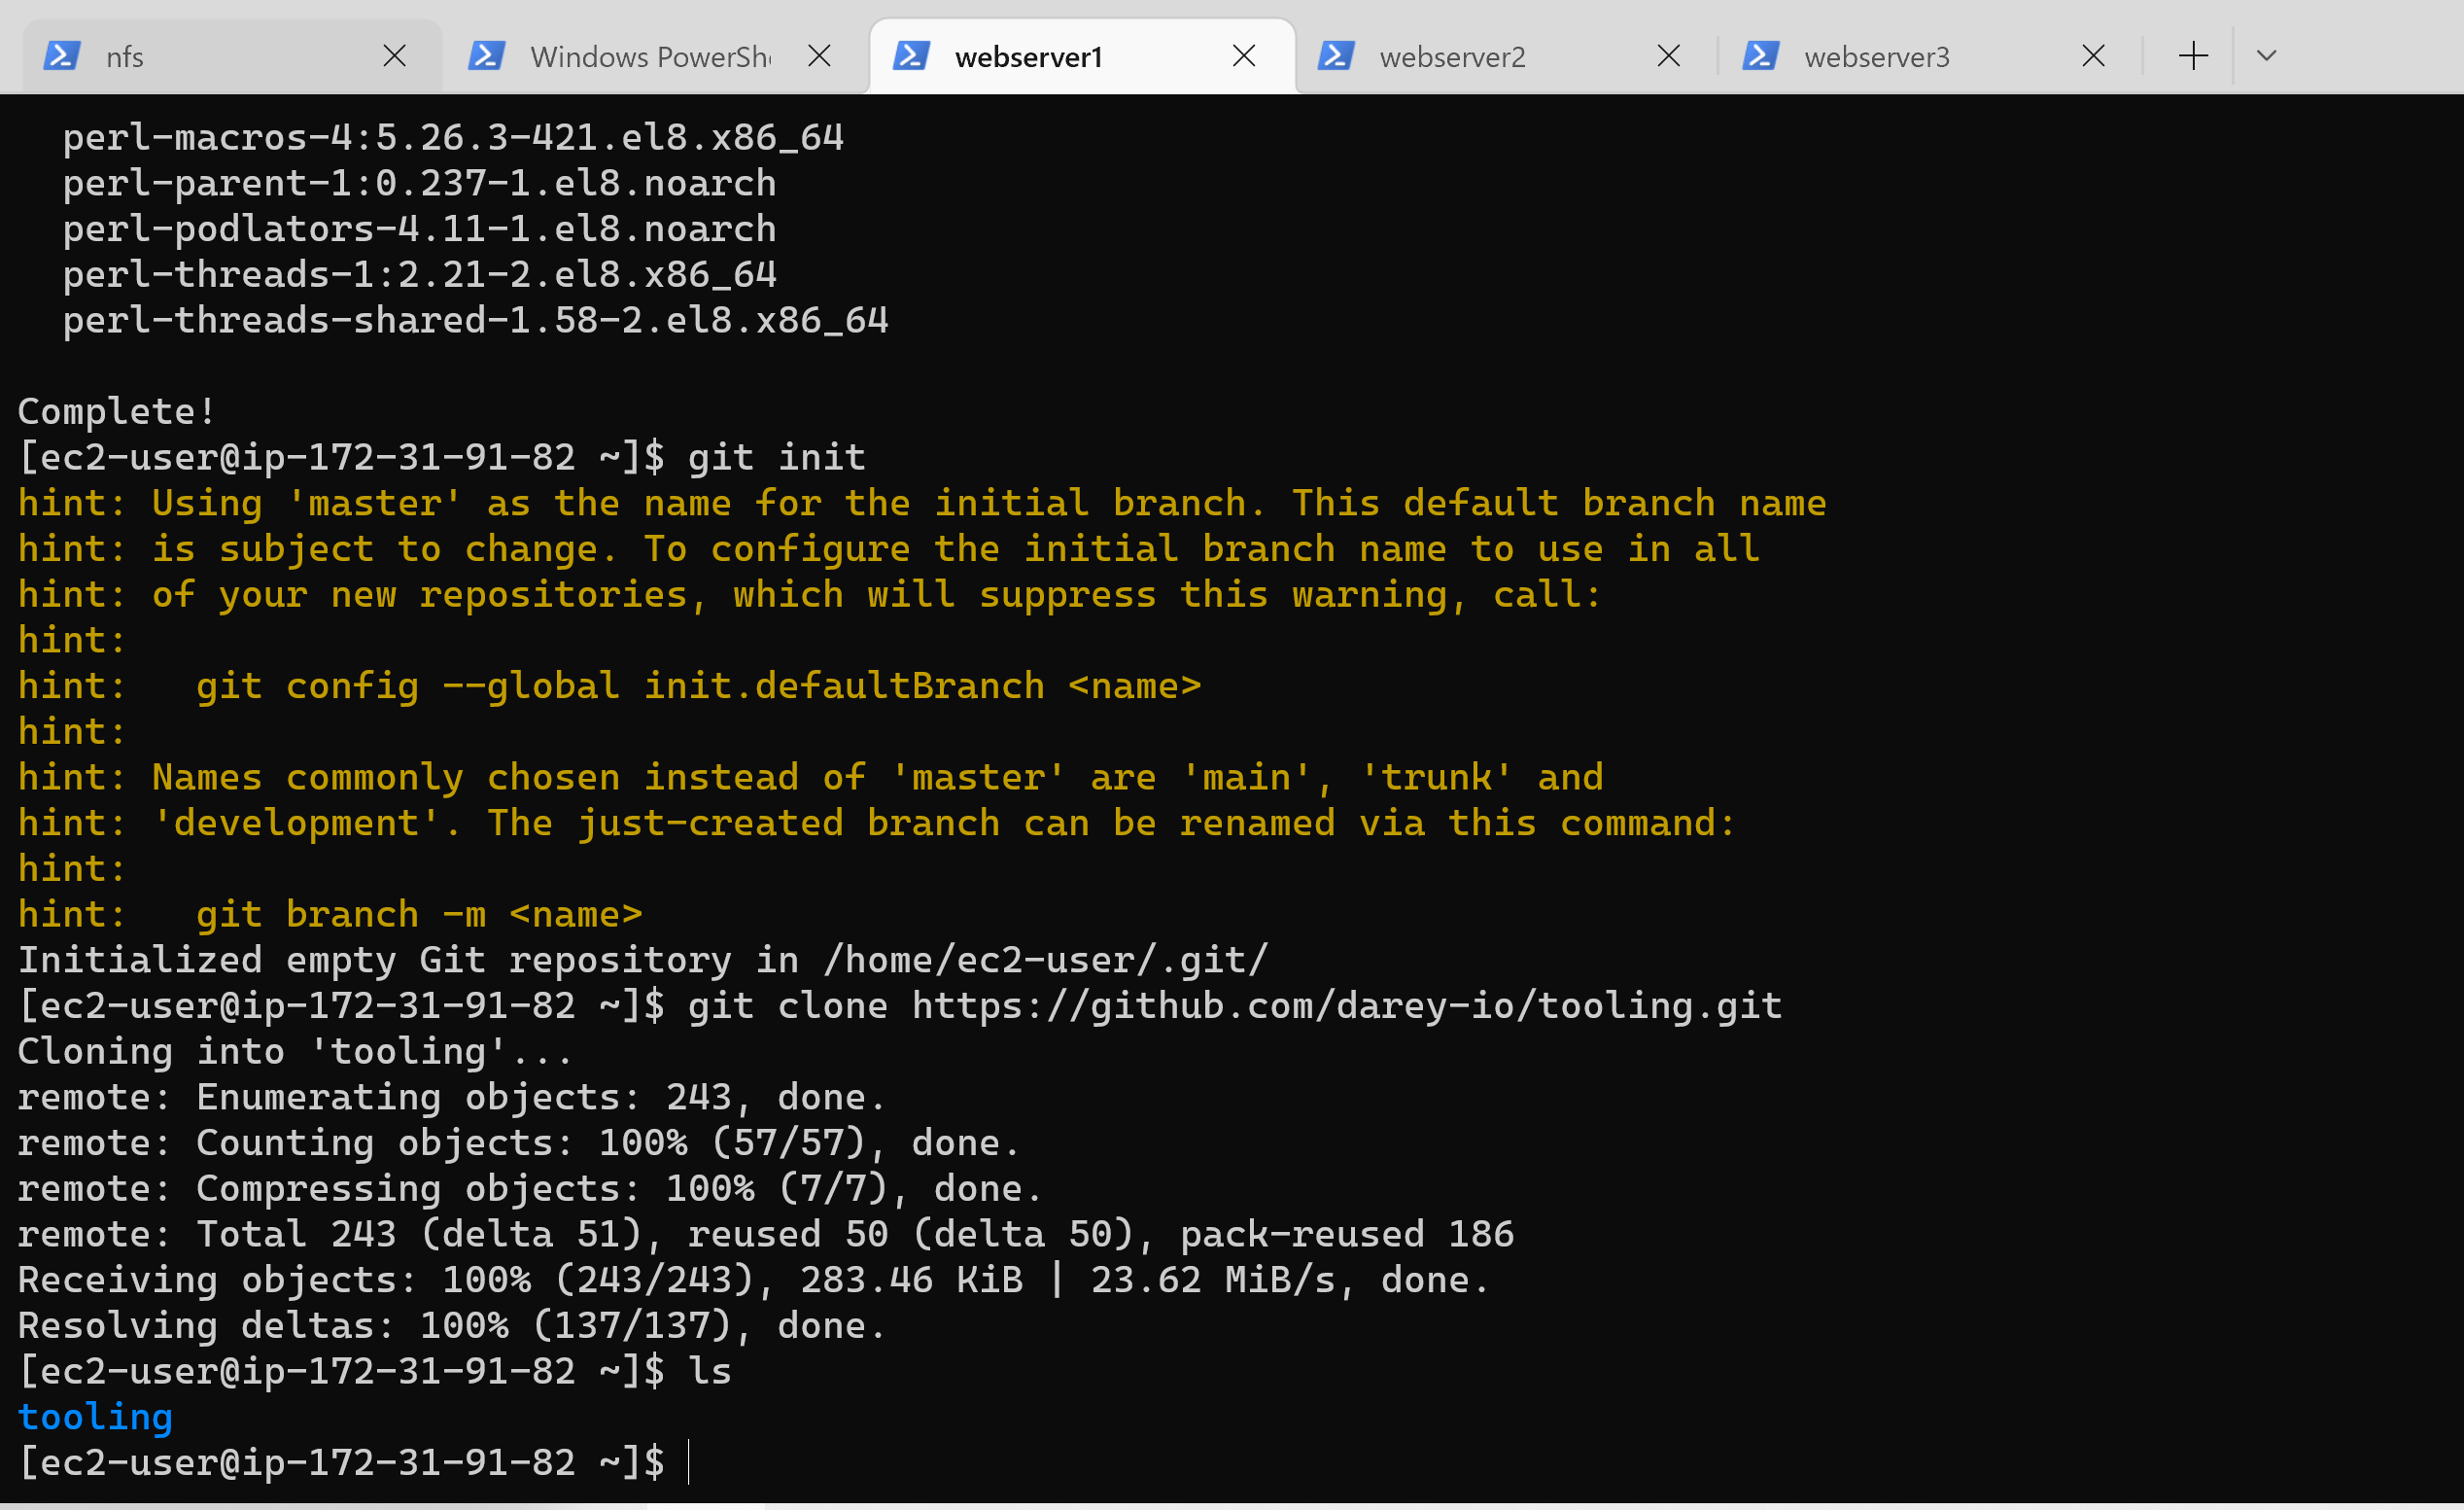
-
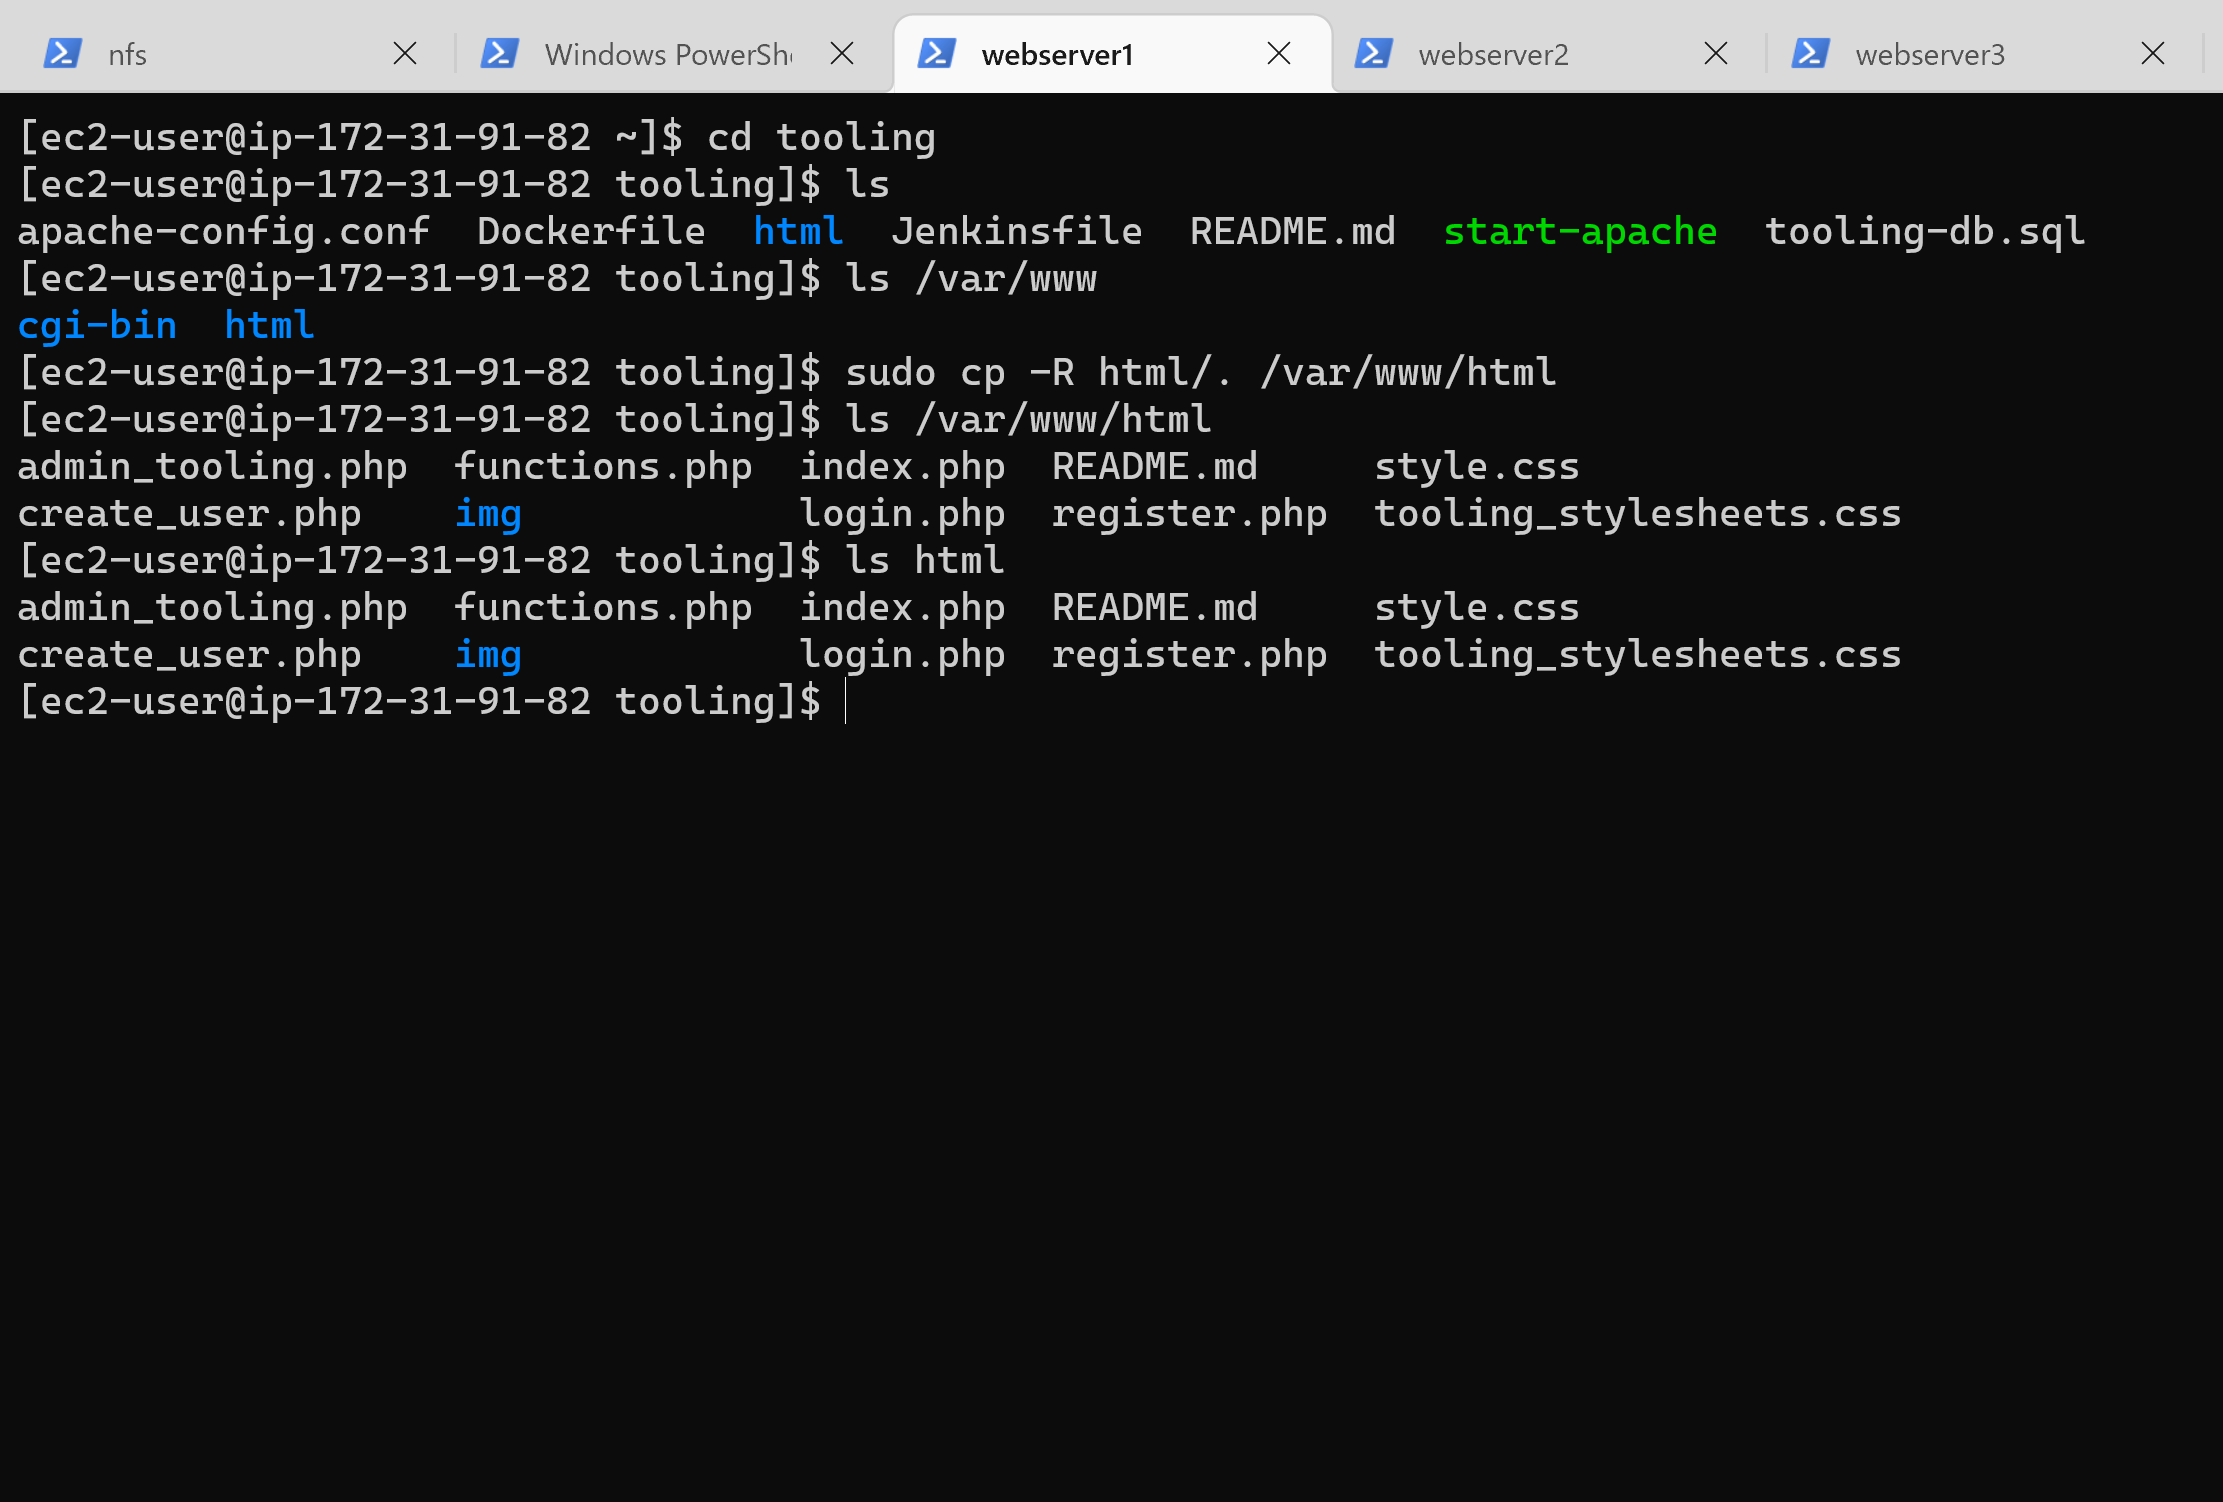
Deploy the tooling website’s code to the Webserver. Ensure that the html folder from the repository is deployed to /var/www/html
-
On the webserver, ensure port 80 in open to all traffic in the security groups.
-
Update the website’s configuration to connect to the database:
sudo vi /var/www/html/functions.php
-
Apply tooling-db.sql script to your database using this command
mysqli_connect ('172.31.80.140', 'webaccess', 'password', 'tooling') -
In the databse server update the bind address to 0.0.0.0:
sudo vi /etc/mysql/mysql.conf.d/mysqld.cnf -
Then create in MySQL a new admin user with username: myuser and password: password:
INSERT INTO ‘users’ (‘id’, ‘username’, ‘password’, ’email’, ‘user_type’, ‘status’) VALUES
-> (1, ‘myuser’, ‘5f4dcc3b5aa765d61d8327deb882cf99’, ‘user@mail.com’, ‘admin’, ‘1’);
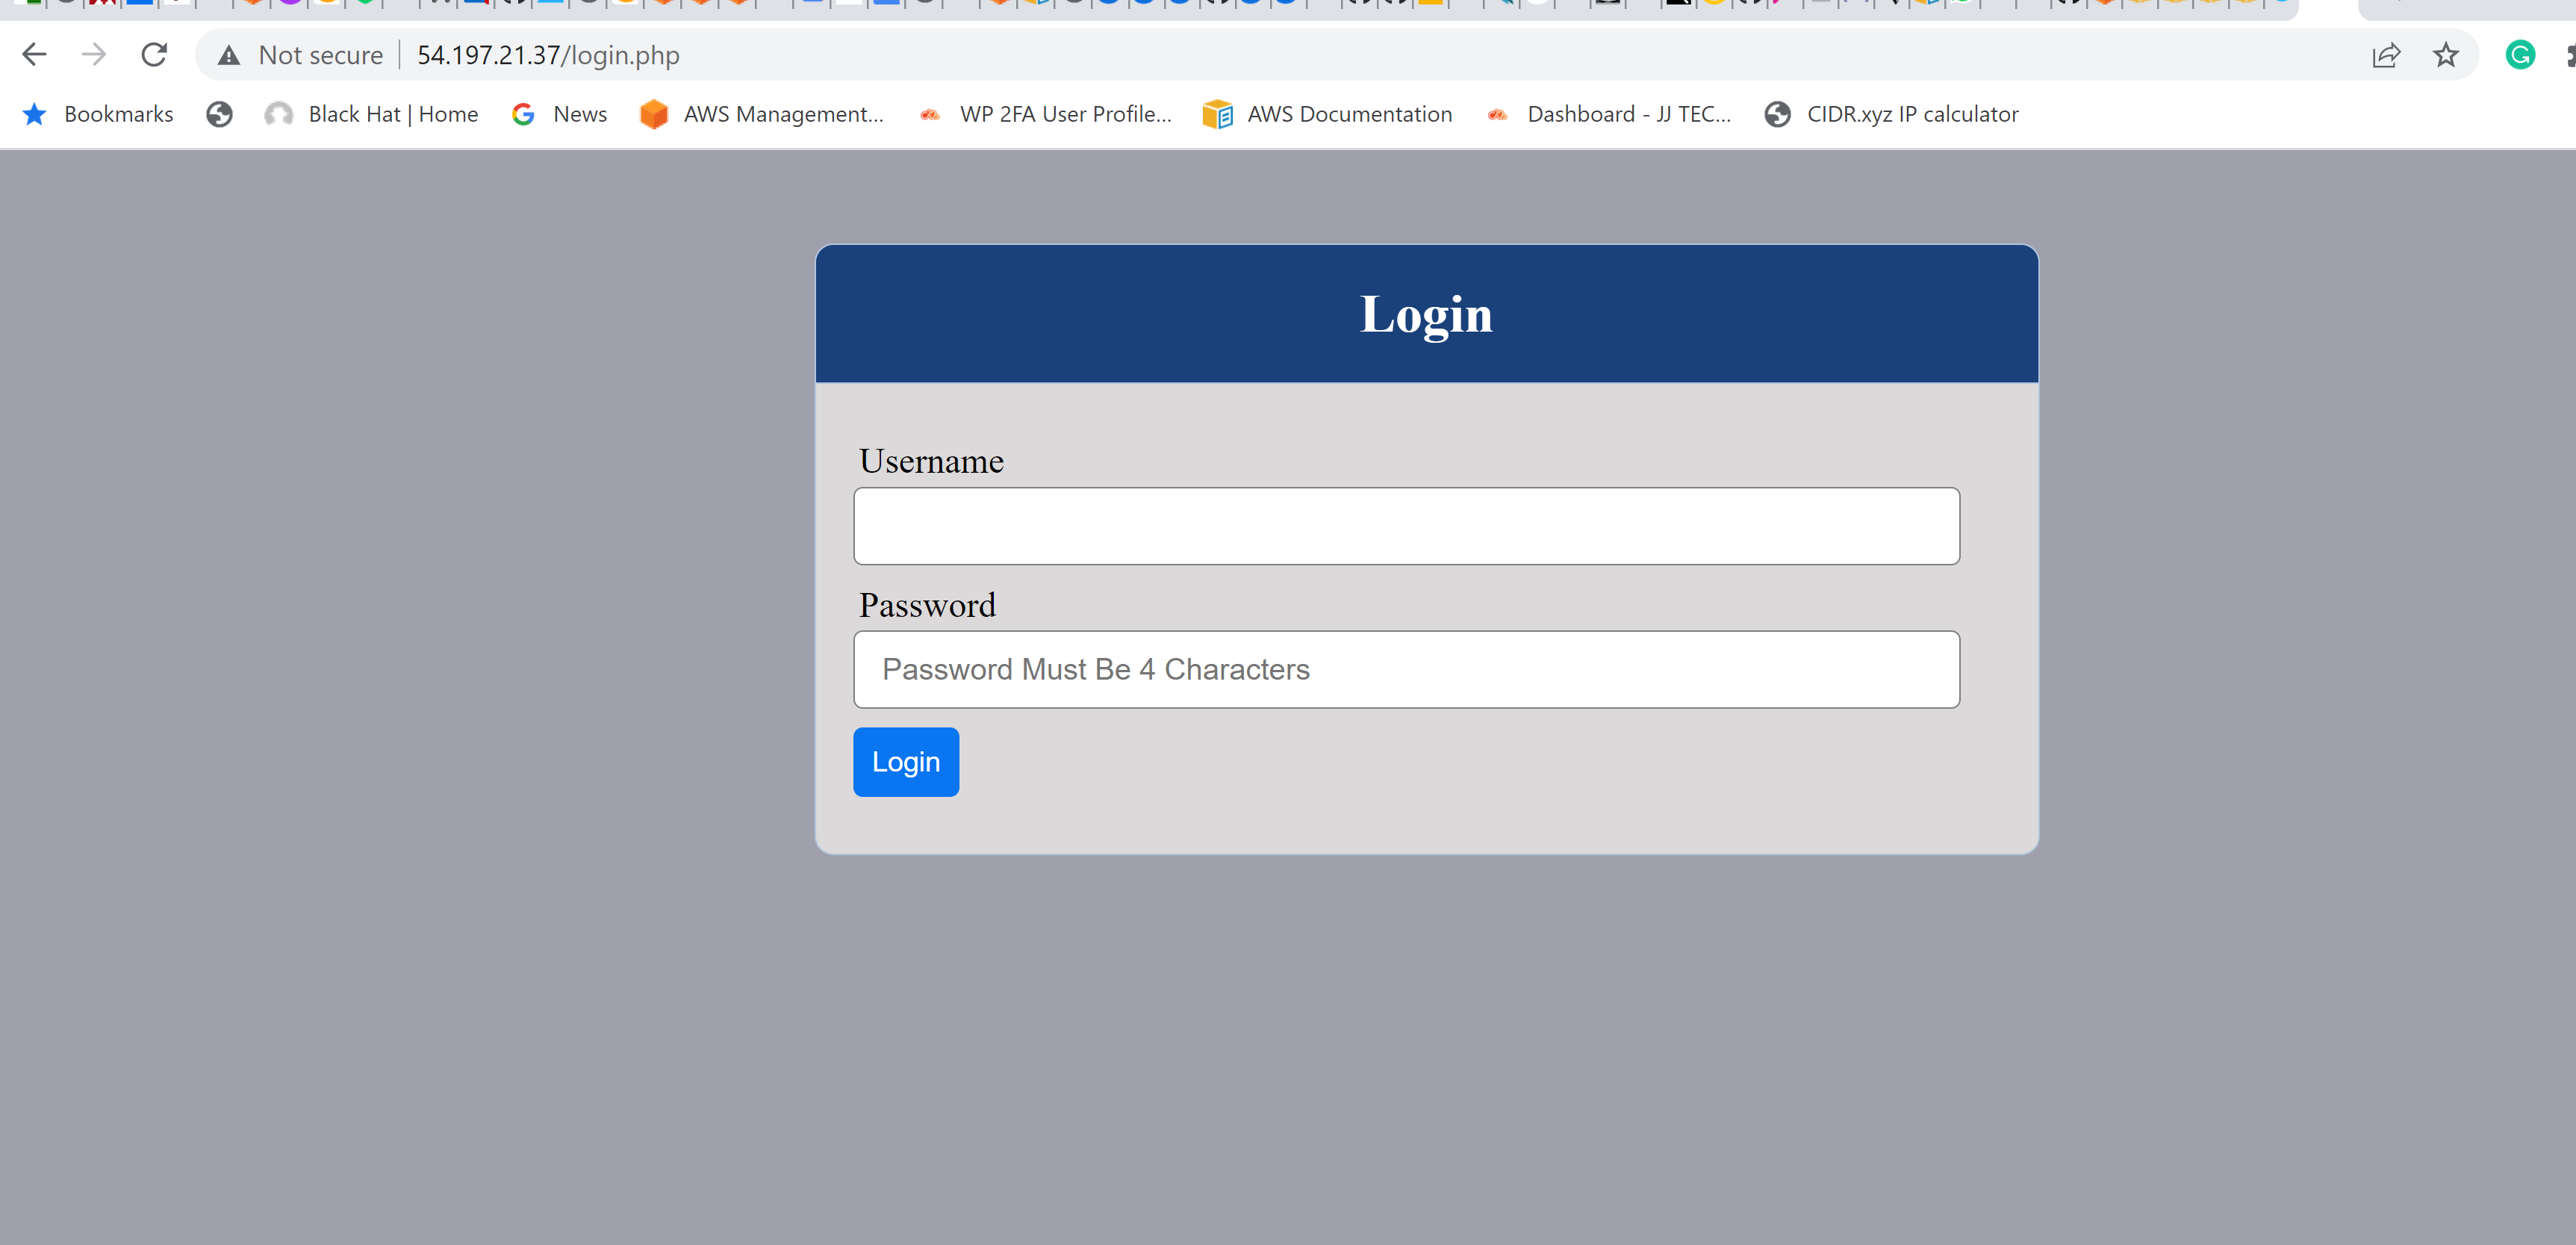
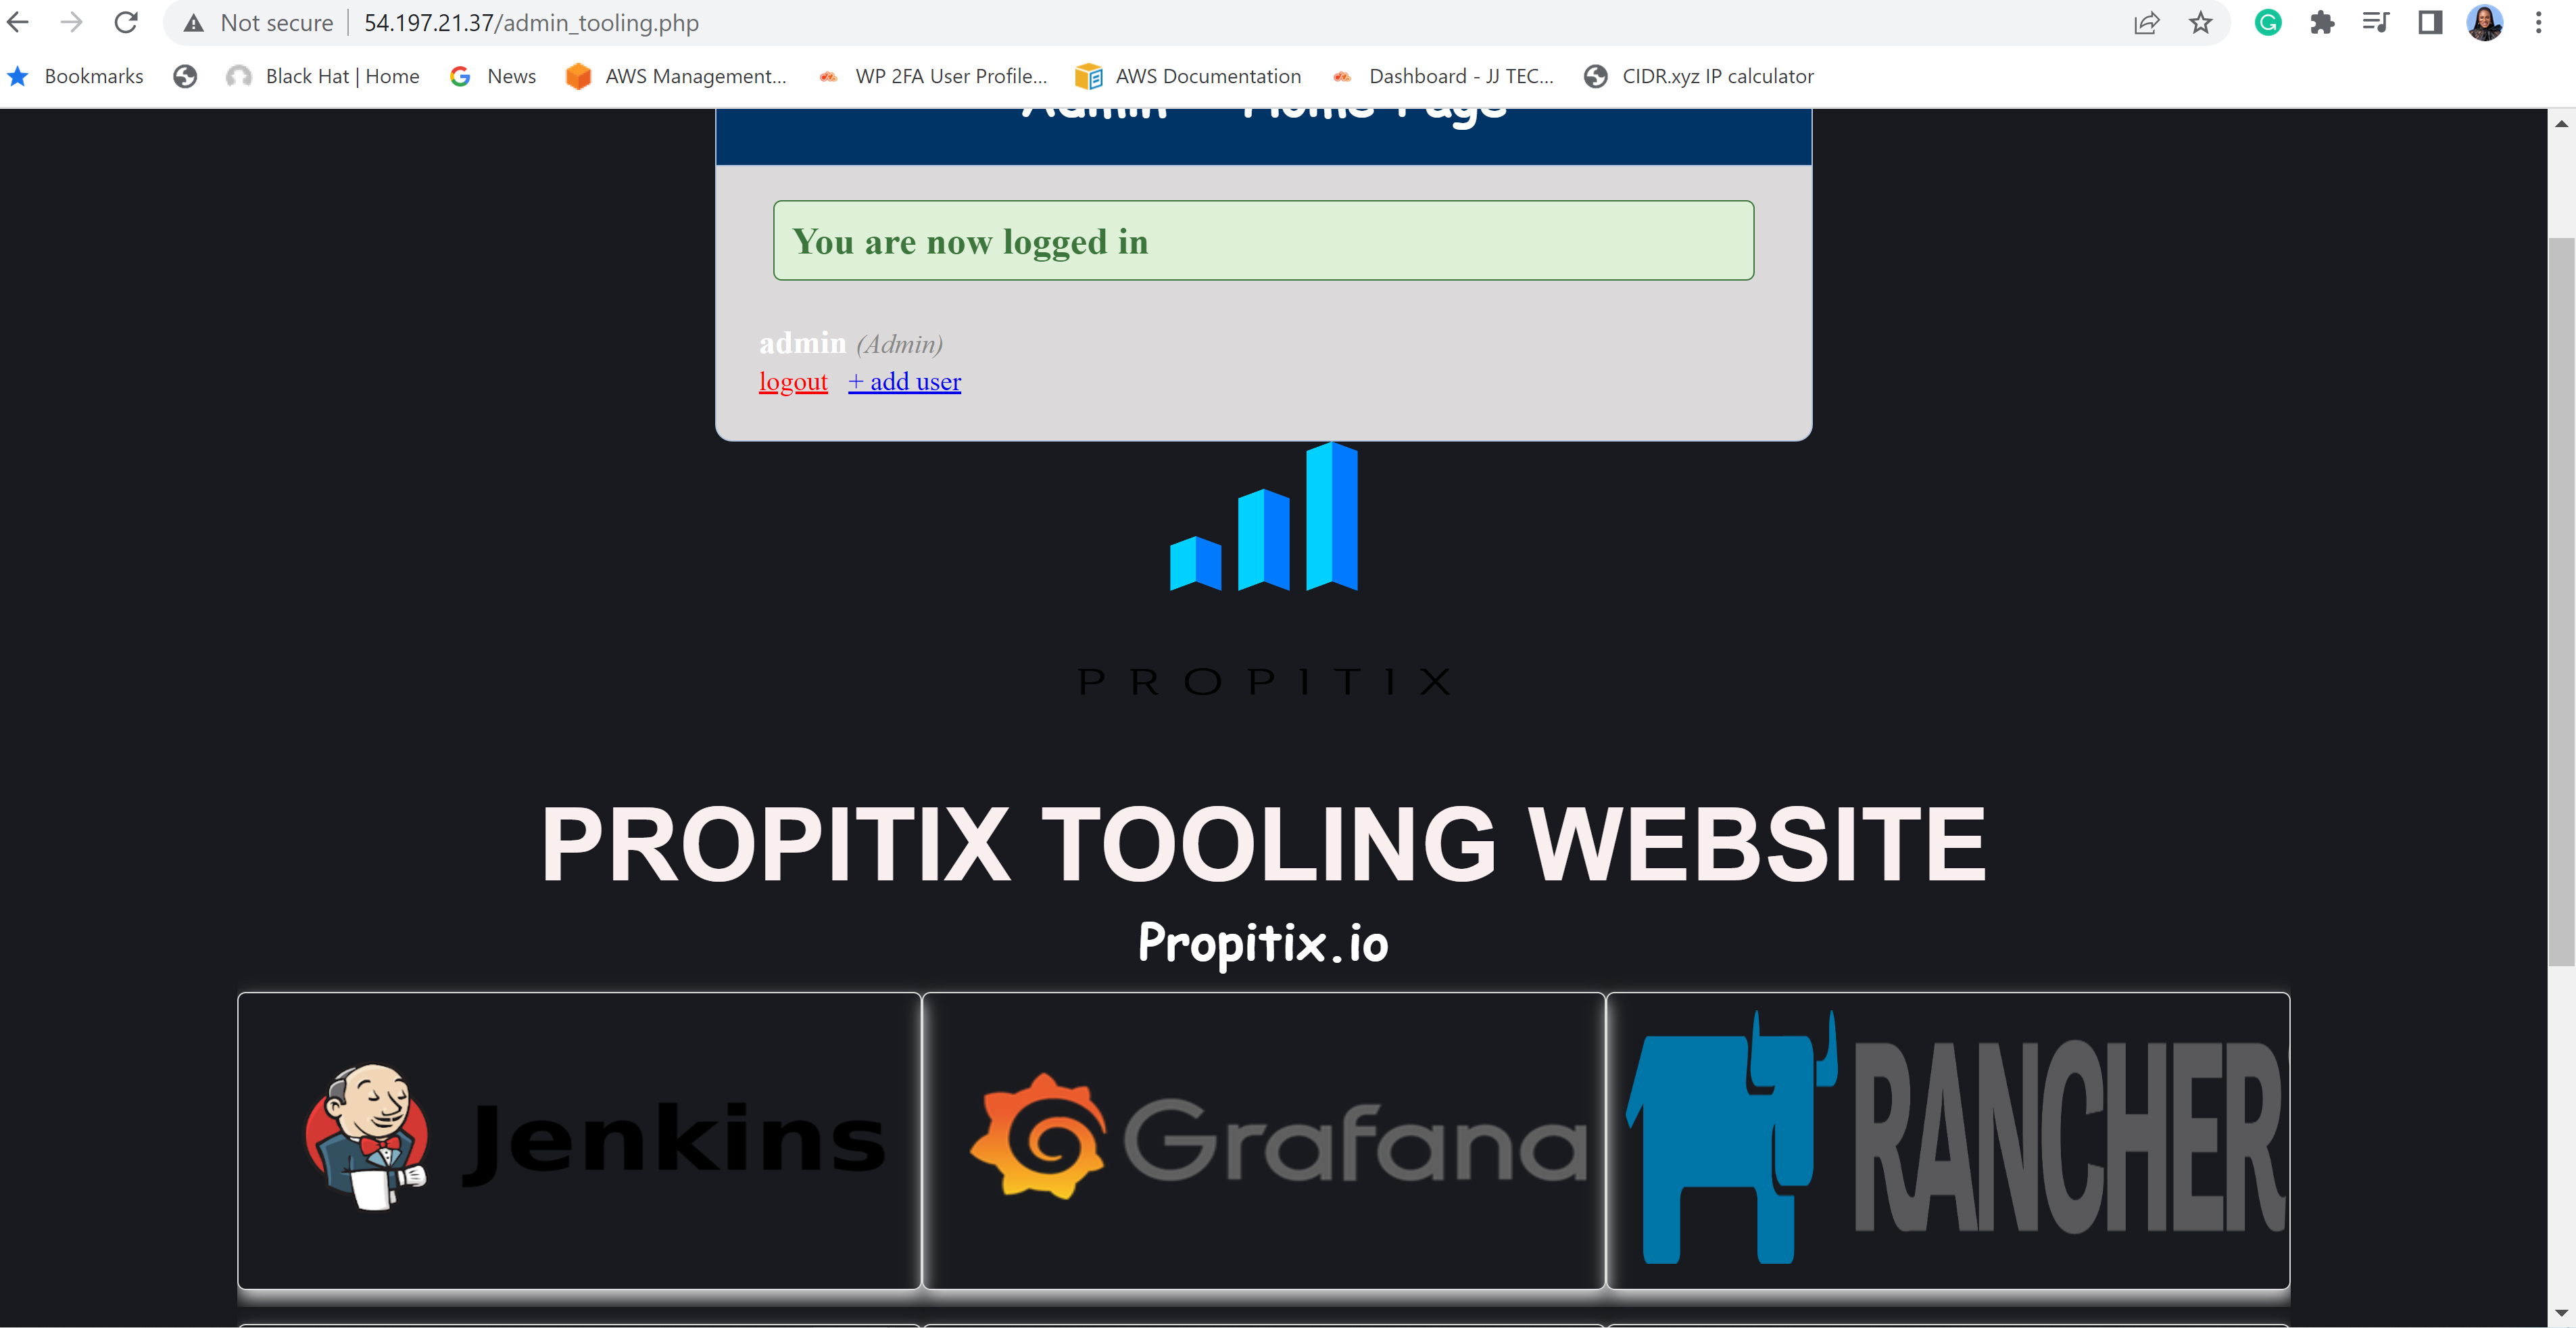
 Finally, open the website in your browser with the public IP of the webserver and make sure you can login into the websute with myuser user.